

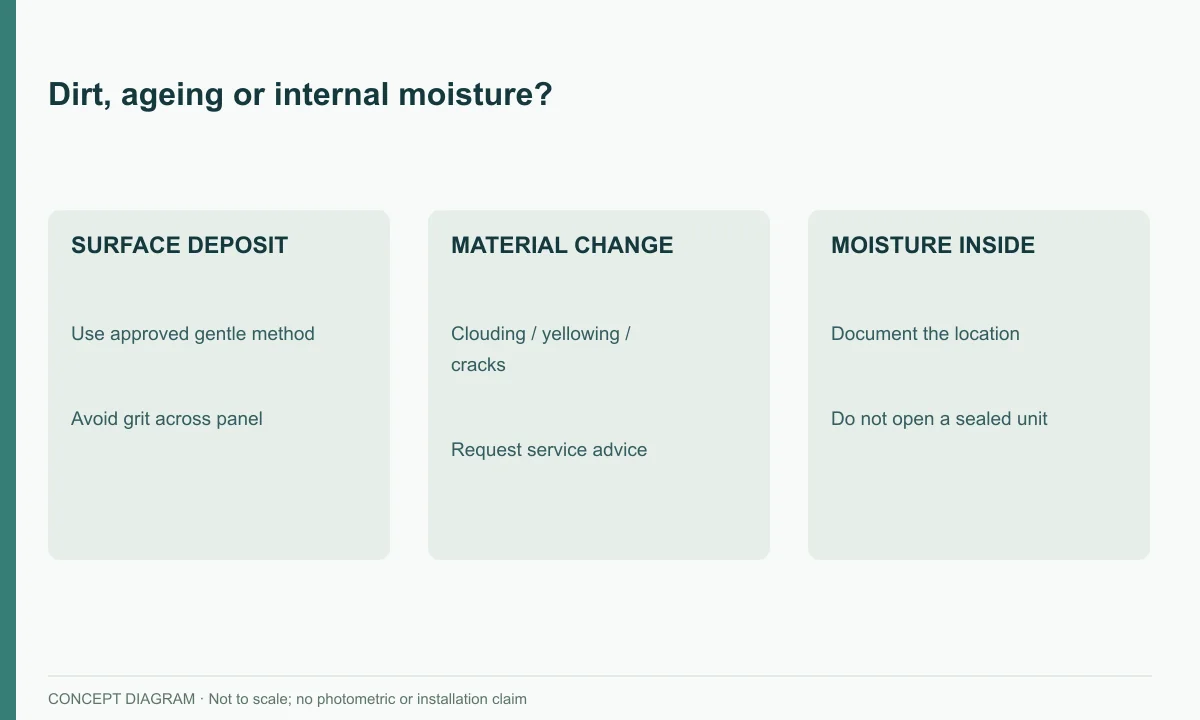
Before cleaning, confirm that the light is safely accessible, identify the surface material and check the manufacturer’s instructions. Clean only the exterior with a compatible method, then inspect the result. Surface dirt, yellowed material, internal condensation and cracks are different conditions.
Distinguish dirt from damage
Loose dust, mud spots and surface deposits may be cleanable. Yellowing, crazing, cracks, failed seals or moisture inside the enclosure may require service or replacement. Do not open a sealed light to wipe internal condensation.
Look at the location of the change. A removable film on the outside of a panel is different from discoloration within a cover. Condensation behind a lens is different from water sitting on the exterior after rain. Photograph the dry unit in ordinary light before touching it; this provides a baseline if the surface, seal or moisture pattern changes.
| What you see | Likely category to record | Cleaning action |
|---|---|---|
| Loose dust, pollen or dry leaves | Surface contamination | Remove gently using an approved exterior method |
| Mud or bird deposits | Adhered surface contamination | Soften and wipe only with a material-compatible method |
| Yellowing or fine internal-looking cracks | Possible material ageing | Stop abrasive cleaning; request material/service advice |
| Moisture behind a sealed cover | Possible enclosure or seal issue | Do not open; document and escalate |
| Broken panel surface, exposed wire or unstable mount | Safety or damage issue | Stop work and restrict access as appropriate |
How to assess a cloudy plastic cover
A cloudy plastic cover can mean several different things. A film on the outside may be contamination; a lasting change within the material may be ageing or damage; moisture behind the cover belongs to a different service question. Identify where the cloudiness is before deciding that stronger cleaning is the answer.
Observe the lamp cover in ordinary light when the exterior is dry. Note whether the change is local or widespread and whether it appears to sit on the surface or behind it. A photograph is useful for communicating the pattern, but it may not settle the material diagnosis. If the mild method approved for the product does not remove it, stop and ask for service guidance.
Do not use toothpaste, abrasive polishing, solvents or an improvised chemical mixture to chase transparency. Compatibility depends on the actual plastic, surface treatment and joints. An apparently successful small area does not establish that a cleaner is suitable for the whole assembly or repeated use.
Check materials and safe access
Panel surfaces, tempered glass, PC lenses and other plastics may have different chemical and abrasion limits. A model using aluminium and PC does not prove that any household cleaner is compatible. Switch off or isolate the light only as its manual directs. Do not climb to clean a high post-top fitting.
Before work, identify the exact model and obtain its care instructions. Confirm that the ground is stable, the unit can be reached without climbing and the weather will not make the surface or access unsafe. Prepare separate clean, soft cloths so grit lifted from a dirty base is not rubbed across a panel or clear cover. Jewellery, hard brushes and dirty tools can introduce scratches even when no chemical cleaner is used.
Use a conservative exterior-cleaning process
- Photograph and inspect the surface, seals and visible damage.
- Remove loose debris gently without scratching.
- Use a soft, non-abrasive cloth and clean water unless the manufacturer authorises another cleaner.
- Do not flood joints, use high-pressure spray or scrape with hard tools.
- Dry as directed, inspect again and restore the documented operating state.
Work from the cleaner, sensitive surface toward dirtier lower areas, changing cloth faces as contamination is collected. Apply liquid to the cloth when practical instead of directing a stream at joints. Use only the pressure needed to lift the deposit. If a mark does not release without repeated force, stop and classify it again; it may be staining, coating damage or ageing rather than dirt.
Cleaning the solar panel and cleaning the light cover serve different purposes. The panel surface affects energy collection, while the cover or diffuser affects how emitted light leaves the luminaire. Both should be kept clear, but neither result should be converted into an unmeasured charging or brightness percentage.
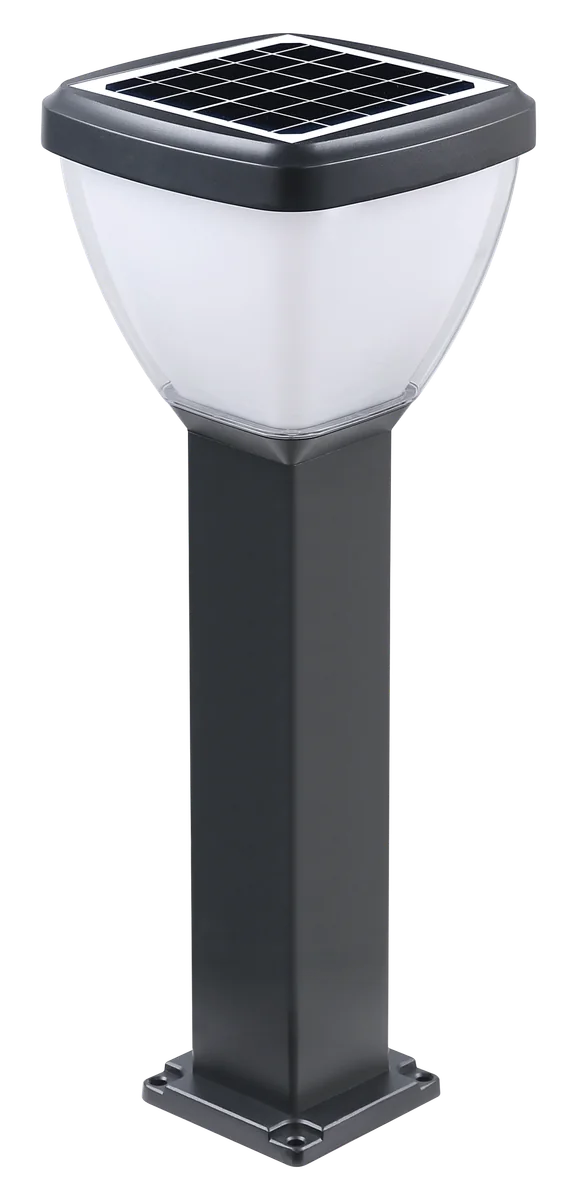
Cleaning a dusty or muddy panel without spreading grit
Separate loose particles from adhered deposits. Start with the manufacturer’s approved method for removing loose debris. Keep the cleaning cloth free of grit, and avoid dragging dirt from the base across the panel surface. When a deposit needs softening, use only the liquid and method allowed for the product and avoid flooding seams.
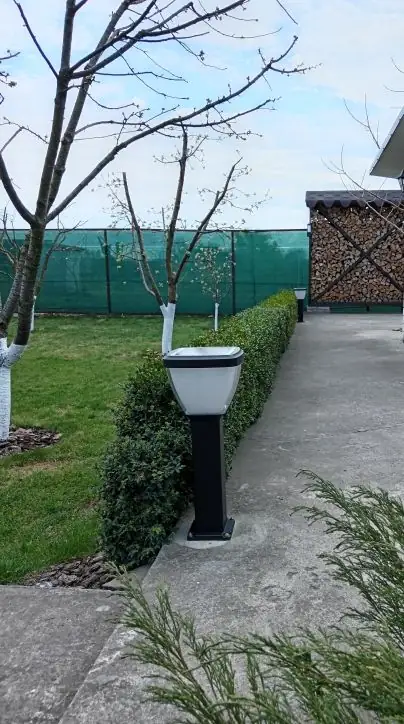
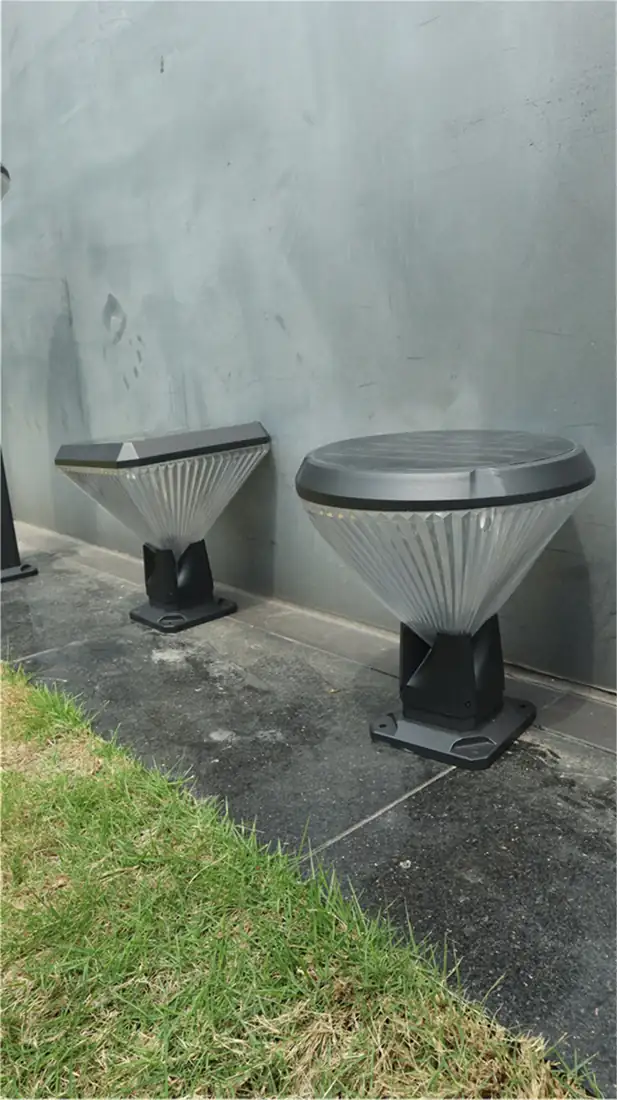
A muddy site may need a positioning review as well as cleaning. If irrigation repeatedly splashes the same panel, cleaning alone leaves the cause unchanged. Record the source and discuss an allowed adjustment to the irrigation or light position. Do not relocate a fixture without rechecking its mounting, solar access and lighting task.
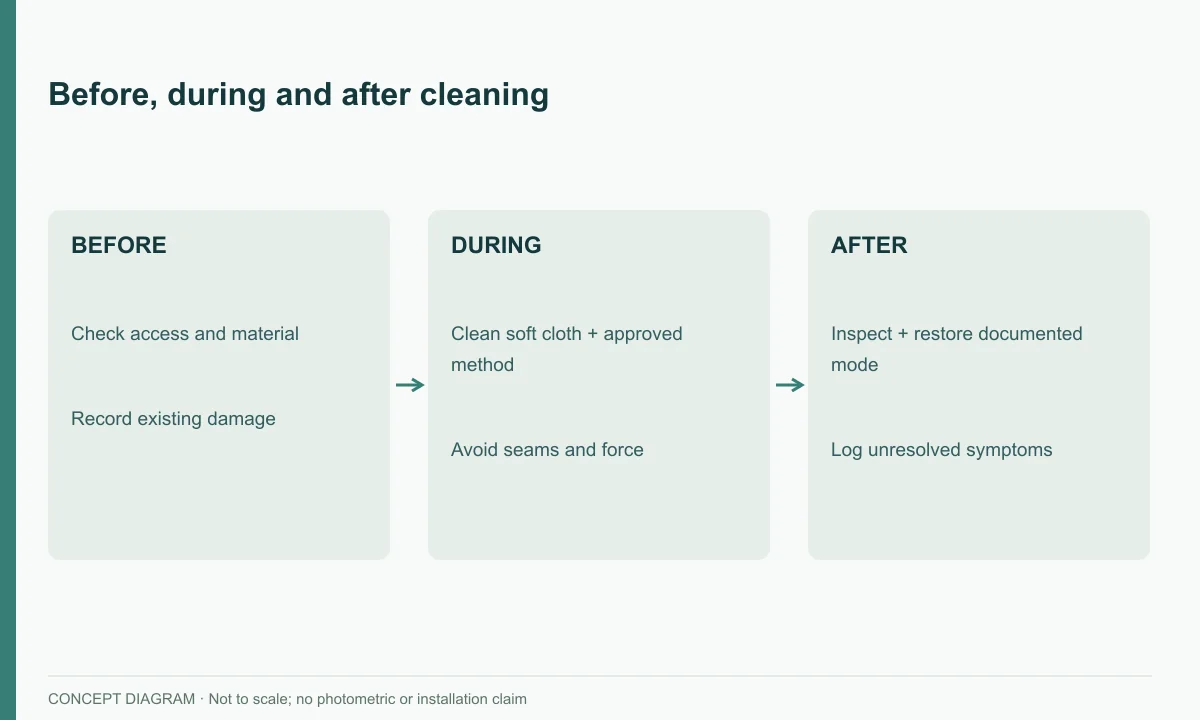
Inspect before, during and after
| Stage | Check | Stop if |
|---|---|---|
| Before | Material, access, cracks, seal and internal moisture | Unsafe access or damage is present |
| During | Cloth remains clean enough; no scratching or liquid entry | Surface changes or a joint is flooded |
| After | Residue removed; enclosure unchanged; operation recorded | Damage, condensation or abnormal operation remains |
Cleaning does not prove that charging or light output has improved. If the light remains dim or off, return to operating records and troubleshooting.
Complete a cleaning record before leaving the site:
| Field | Entry |
|---|---|
| Model, location ID and date | ______ |
| Contamination observed | ______ |
| Surface/material confirmed | ______ |
| Water or approved product used | ______ |
| Damage or internal moisture found | ______ |
| Operating state restored and checked | ______ |
If performance is being investigated, observe the next comparable charging and operating period separately. A light that remains off after cleaning needs symptom-based troubleshooting; more rubbing is not a diagnostic method.
Example: a cleaning record with a follow-up decision
The following example is hypothetical. A low-level fixture stands beside an irrigated planting strip. The operator notices surface deposits and says the light looks weaker than before. No output or charging measurement has been made.
| Stage | Example record | Decision |
|---|---|---|
| Before | Deposit visible outside; access suitable; no obvious cracks | Follow approved exterior-cleaning method |
| During | Clean cloth lifts surface dirt without force | Continue gently; avoid joints |
| After | Panel surface looks clearer; cover unchanged | Record photographs; restore documented mode |
| Next comparable night | Still appears dim to the observer | Investigate operation and conditions separately |
| Site follow-up | Sprinkler repeatedly wets the same area | Review permitted positioning or irrigation adjustment |
The record separates a successful cleaning action from an unresolved lighting complaint. “Surface deposits removed” is supported by inspection. “Charging restored” or “brightness improved” would require different evidence. This distinction helps the next person avoid repeating the same cleaning work while overlooking the remaining cause.
Set frequency by conditions
Inspect after dust, mud splash, leaf fall, birds, nearby construction or seasonal change. Use actual accumulation rather than a universal weekly or monthly schedule. Record date, contamination, method and findings.
Different positions on the same property may need different inspection intervals. A light beside sprinklers or an unpaved drive may soil faster than one in an open planted bed. Start with observations, shorten the interval when deposits repeatedly obstruct the surface, and lengthen it when inspections consistently find the unit clean. Keep seasonal checks for leaf growth, leaf fall and weather exposure even when routine intervals change.
See the yard-light guide and winter-use guide.
Why lights may remain dim after cleaning
First decide what “dim” describes. Is the luminous surface weaker than before, or is the walking surface still poorly lit even though the source looks bright? The first points toward operating state or energy questions; the second also calls for checking distribution and obstruction. Keep both observations in the service note.
Then confirm the documented mode and observation time. A scheduled dimming period can look like a fault if compared with the beginning of another night. Record recent daytime conditions and shade because a clean panel may still receive insufficient input. Finally, check whether leaves now block the emitted light or whether the cover has a persistent material change. None of these external observations alone proves an internal failure.
If the complaint remains, submit the cleaning record through the supplier support contact. Include the precise model and the approved method used. The solar bollard catalogue can help distinguish fixture forms, but service guidance must correspond to the actual unit.
Make the next inspection easier
Keep one record for each light ID so different cleaners do not unknowingly use incompatible methods. Note the approved cleaning materials, recurring contamination source and the next reason to inspect, such as construction dust or leaf fall. For higher fixtures, assign appropriate maintenance access instead of extending a household cleaning routine to work at height.
A practical maintenance outcome is a clean, externally intact fixture with its operating state restored and any remaining symptom documented. It is also a clearer understanding of why that location becomes dirty, which can make future inspections more useful.
FAQ
Can I use soapy water? Only if the exact product instructions allow that cleaner on every contacted surface.
Can cleaning restore a yellowed cover? Not if the material itself has aged; do not use abrasive polishing remedies without approval.
How often should I clean? Inspect according to site exposure and clean when needed.