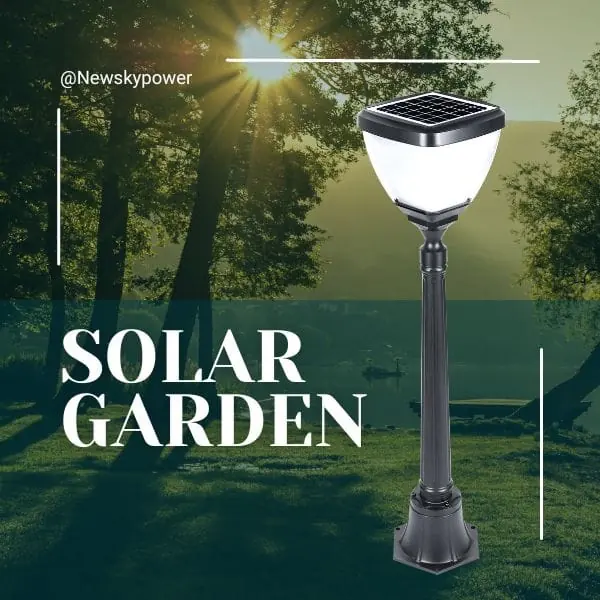


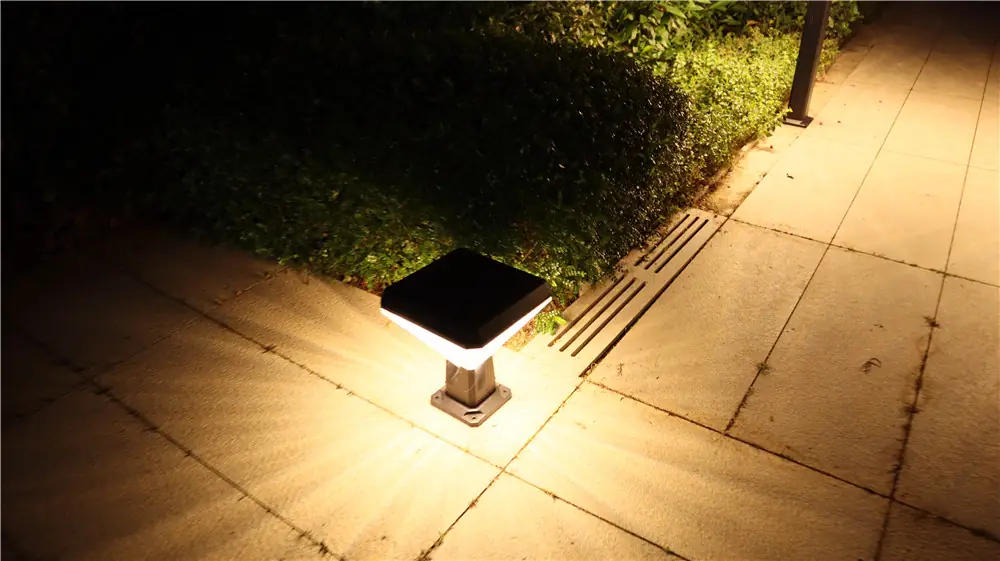
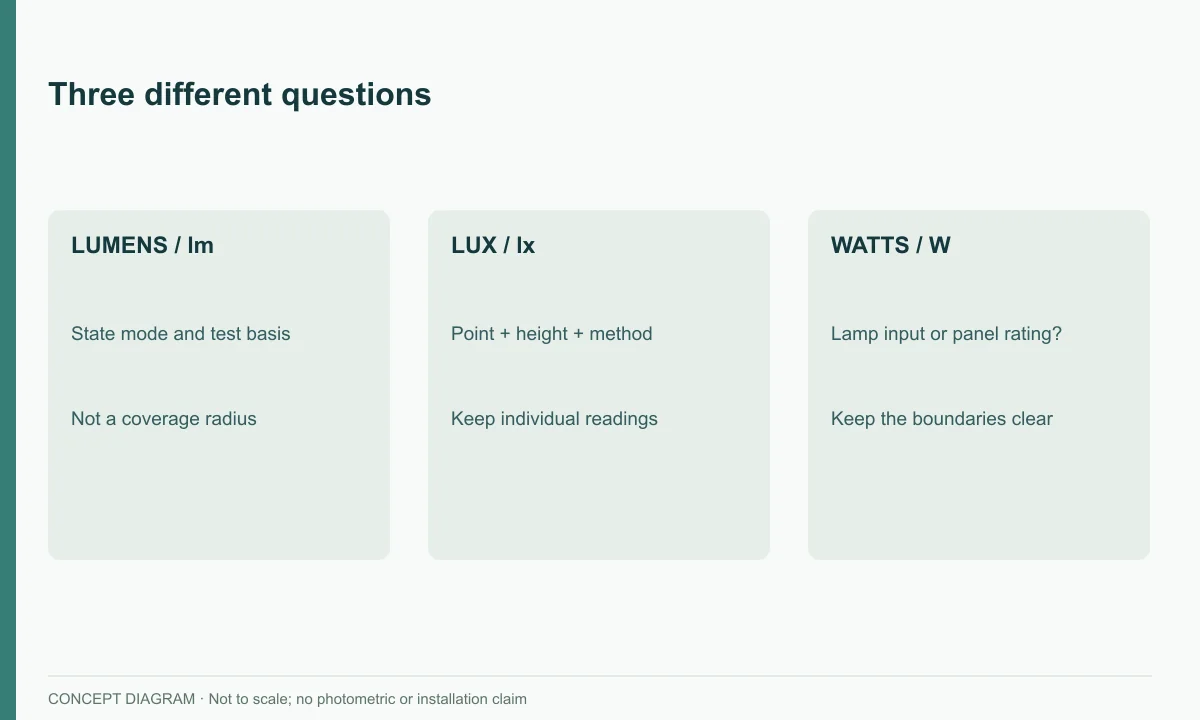
There is no single lumen figure for every garden, path and post-top light. First define what people need to see. Then compare whole-luminaire light output, distribution, mounting position and nighttime mode. Lumens tell you how much light a luminaire emits; lux describes light arriving on a surface; watts describe electrical power under stated conditions. None can replace the others.
Define the lighting task first
For edge marking, the user needs to recognise the route. For walking-surface lighting, the target is the path itself. Entrances require recognition of doors, gates or direction changes; seating areas depend on the activity. A residential ambience goal is different from a public-route requirement, which may need professional criteria and documented verification.
Write the task as an observable sentence before comparing products: “identify both edges of this curved path,” “recognise the entrance from the approach,” or “support movement between the gate and the door.” A vague request for a “bright light” gives a supplier no target surface, viewing direction or operating period. When several tasks share one area, list them separately because one mounting position may not serve all of them.
Understand lumens, lux and watts
| Measure | What it helps compare | What it cannot prove alone |
|---|---|---|
| Lumens (lm) | Whole-luminaire light output under stated conditions | Illuminance, coverage radius, uniformity or glare at the site |
| Lux (lx) | Light reaching a defined surface or measurement point | Total emitted light or suitability outside the measured conditions |
| Lamp input watts | Electrical demand at a stated operating point | Brightness without efficacy and optical data |
| Solar-panel watts | Panel rating under stated conditions | Lamp output or nightly runtime |
The U.S. Department of Energy likewise distinguishes light output in lumens from energy use in watts. Dividing lumens by site area is not a substitute for actual distribution and measurement.
When reviewing a datasheet, first check whether the stated lumens refer to the complete luminaire and which mode or test condition applies. Then ask where the light is intended to go. Lux data is only meaningful with its measurement surface, point or grid, mounting condition and operating state. A number without those boundaries should be treated as incomplete, not automatically compared with a better-documented figure.
Why equal lumens can look different
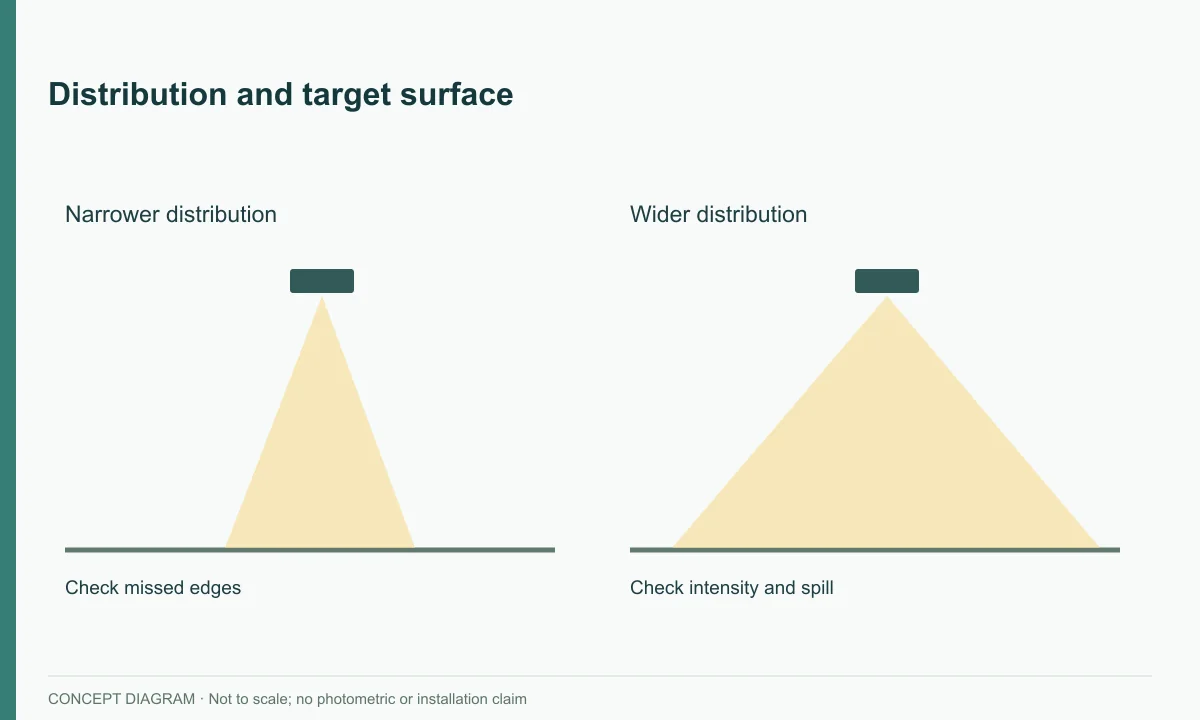
Mounting height, optical distribution, aiming, shielding, surface reflectance, obstruction and overlapping fixtures affect where light goes. A narrow distribution can create a bright local area while missing the path edge; a wider distribution can spread light but may reduce intensity at any one point. LED count and body size do not establish coverage.
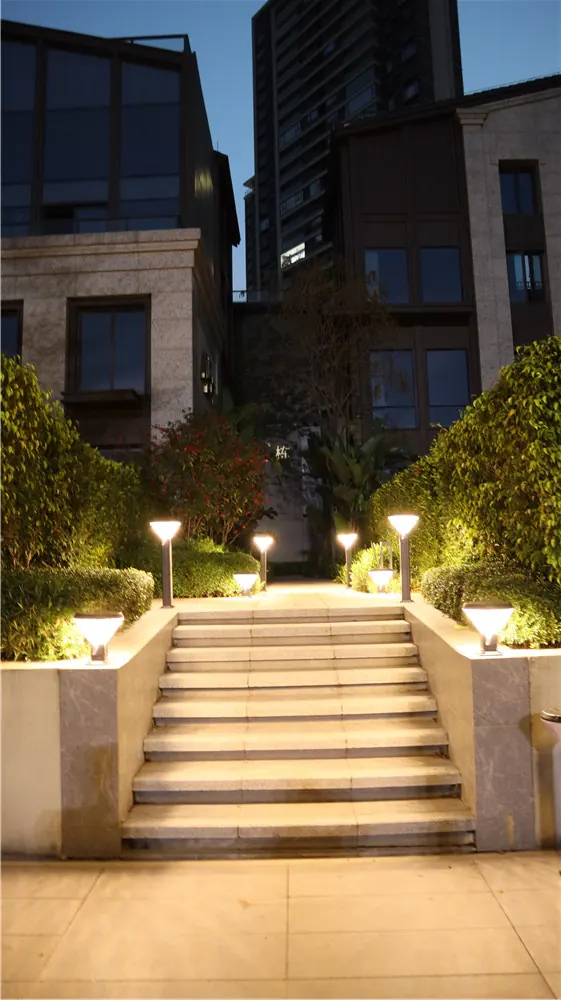
Night photos are useful for context but are affected by exposure. They do not prove lux or uniformity.
Compare brightness across fixture types
| Fixture form | Typical position | Main target to inspect | Ask the supplier for |
|---|---|---|---|
| Stake pathway light | Low, beside soil or planting | Route edge and nearby surface | Whole-luminaire output, distribution, mode and mounting guidance |
| Fixed bollard | Low, fixed beside path or lawn | Walking surface, edge and sightline | Output, distribution, luminous-surface height and shielding |
| Post-top courtyard light | Higher on a pole | Larger pedestrian or courtyard area | Version-specific output, optical data, mounting height and control program |
Do not transfer SCL post-top specifications to SKL or SLL low-level products. Compare each exact model and version.
Mounting height is part of the optical arrangement, not a shortcut to “more coverage.” Raising a source changes the distance and angles between the luminaire, target and viewer. It can widen the visible area in some arrangements while reducing light at a particular surface or exposing the source to more sightlines. Use the supported mounting range and applicable distribution information for the chosen model.
Include nighttime modes and light colour
Compare products in the same operating state. Initial full output, scheduled dimming or sensor-triggered output can produce different results and energy use. “Dusk-to-dawn” describes automatic control, not necessarily constant brightness.
Colour temperature changes appearance and visual preference, but it does not replace output or distribution data. Cool white is not automatically safer, and warm white is not automatically too dim.
Turn “how many lumens?” into a useful specification
The first useful specification is a task and a target, followed by conditions. For a residential path, describe its width, surface, edges, turns and viewing directions. State whether the purpose is decorative guidance or useful light on the walking surface. Add the intended operating hours and whether later dimming is acceptable. This gives a supplier something to evaluate before selecting a lumen figure.
Ask whether the quoted output belongs to the complete luminaire or only an LED component. Request the applicable operating state and supporting optical information. A supplier should be able to connect the proposed product to the target area; a large number without that connection does not answer how many lumens your path needs.
Understand wide-beam and low-glare descriptions
A wide-beam description concerns the distribution of emitted light. It does not prove that useful light reaches every edge of a particular path. A low-glare description concerns visual comfort under relevant viewing conditions; it cannot be established simply because the housing has a diffuser. Treat both as questions to investigate using product data and the actual mounting arrangement.
The viewer matters as much as the plan. Check a standing approach, a seated position where relevant and the direction toward nearby windows. If a luminous surface is uncomfortable to look toward, raising the stated lumens may worsen the complaint. Adjusting placement, shielding or distribution may be a more useful test, subject to the product’s supported configuration.
Example: the lamp looks bright but the path stays dark
Consider a hypothetical path with a bright visible light beside dense planting. The owner first asks for a higher-output replacement. A review identifies three possible explanations: the source faces the viewer more than the path, foliage intercepts the useful light, or the distribution concentrates light in a small patch while missing the opposite edge. These are diagnostic possibilities, not findings about the photographs in this article.
Check the possibilities separately. View the target surface without staring at the source, identify where light actually falls and compare observations from both directions. If foliage is responsible, assess an allowed planting or position change. If the pattern misses the target, compare optical information before choosing a larger output. If the effect changes later in the night, add the active program and charging conditions to the investigation.
| Hypothetical finding | First useful question | Next comparison |
|---|---|---|
| Source is conspicuous; surface weak | Is light directed toward the required surface? | Orientation or another distribution |
| Local bright patch; weak far edge | Does the optical pattern suit the path width? | Candidate distributions at the intended position |
| Bright initially, dim later | Did the controller change state? | Same task during each programmed period |
| Light blocked by plants | Which part of the useful beam is obstructed? | Permitted planting or position adjustment |
Verify the choice with a sample and records
| Record | Why it matters |
|---|---|
| Exact model/version and mode | Makes the result repeatable |
| Mounting height, position and orientation | Connects the luminaire to the target surface |
| Path dimensions and observation points | Defines the lighting task |
| Time, weather and recent charging conditions | Separates optical and energy effects |
| Instrument, grid and raw readings if measured | Makes quantitative claims reviewable |
Ask for stated whole-luminaire output, applicable distribution data, mode schedule and a sample plan. For public or regulated pedestrian areas, use qualified project professionals to define and verify requirements.
For a sample review, keep the variables controlled. Install or temporarily position the candidate only where safe; use the proposed height and orientation; confirm the active mode; mark the target surfaces and observation points; then record results at the beginning of the night and after any scheduled change. If a second product is compared, use the same task, positions and documentation standard. The aim is not to create a dramatic photograph but to decide whether the required surfaces remain useful without unacceptable glare.
Make sample acceptance specific enough to use
Before the sample arrives, identify the task points and who will review them. Agree whether the result is a visual evaluation or a measurement exercise. For measurements, use an appropriate instrument and a documented method selected for the project. Keep individual readings and locations; an average alone may hide a poor point that matters to the task.
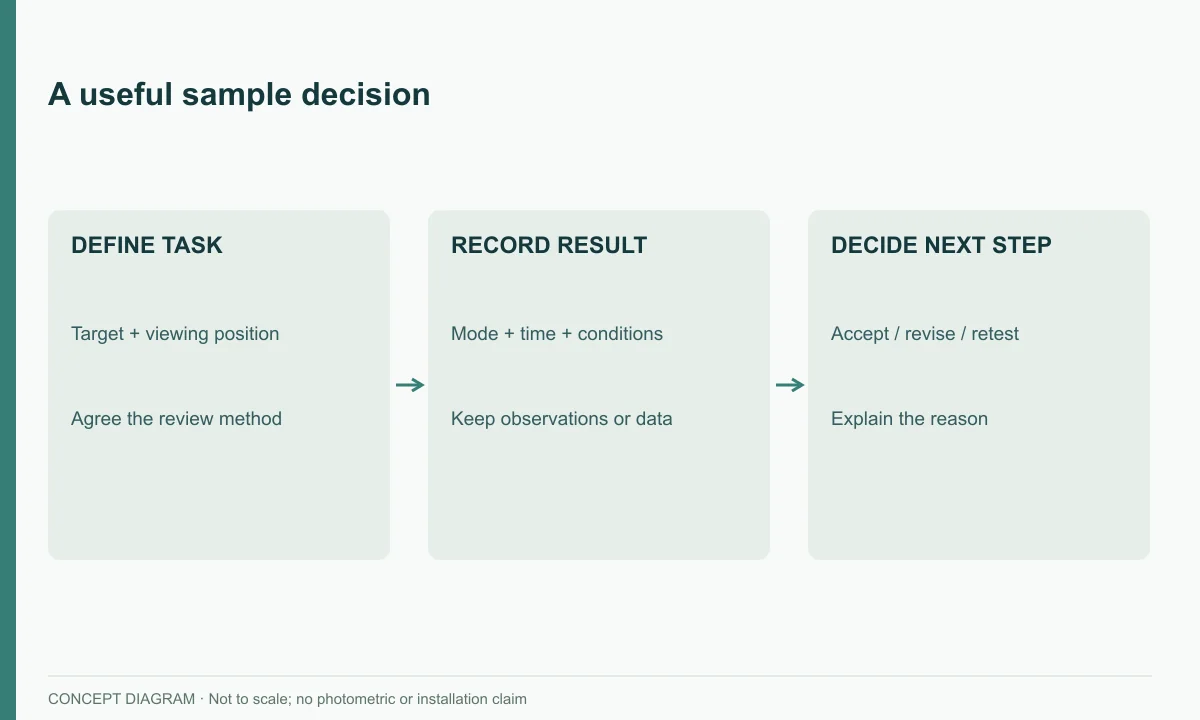
A filled hypothetical review note might read: “Candidate B, proposed mode, entrance approach: door and route are identifiable; source uncomfortable from the adjacent seat. Request an alternative optical arrangement and repeat the seated view.” This is more useful than “B is brightest,” because it records both the successful task and the remaining issue.
When discussing evidence, the supplier’s quality-control information can be a starting point for requesting applicable output or operating records. Ask specifically which offered version the documents cover. The yard-light selection guide provides broader product context; use this article’s task-based method when comparing actual brightness rather than transferring a generic range to every fixture.
Frequently asked questions
Are brighter pathway lights always better?
No. Excess light in the wrong direction can create glare while leaving the target surface poorly served.
Can lamp wattage compare brightness?
Not reliably. Watts describe input power; compare stated lumens and distribution under matching conditions.
Can more lights correct the wrong distribution?
Not automatically. The layout may multiply glare or still leave dark zones. Verify the arrangement.
Can a night photograph prove illuminance?
No. It can document fixture positions and visible patterns, but camera exposure and processing can change apparent brightness. Quantitative claims require a defined measurement method and original readings.
Review fixture forms through the pathway, bollard and courtyard ranges, then provide path width, mounting options and nighttime task when requesting optical information.