

The lumens you need depend on the surface you want to illuminate, its dimensions, the mounting arrangement, and the lighting task. There is no dependable rule that converts a solar flood light's marketing wattage label into a fixed coverage area. Compare actual light output and distribution, then check the light reaching your target under the intended operating mode.
A useful brightness comparison answers three questions: is there enough light where the task happens, is it distributed acceptably across the area, and does that result remain useful during the required hours? The largest number on a product image answers none of those questions by itself.
Understand Watts, Lumens, and Illuminance Before Comparing Products
Measured Electrical Input Versus a Wattage Label in a Product Name
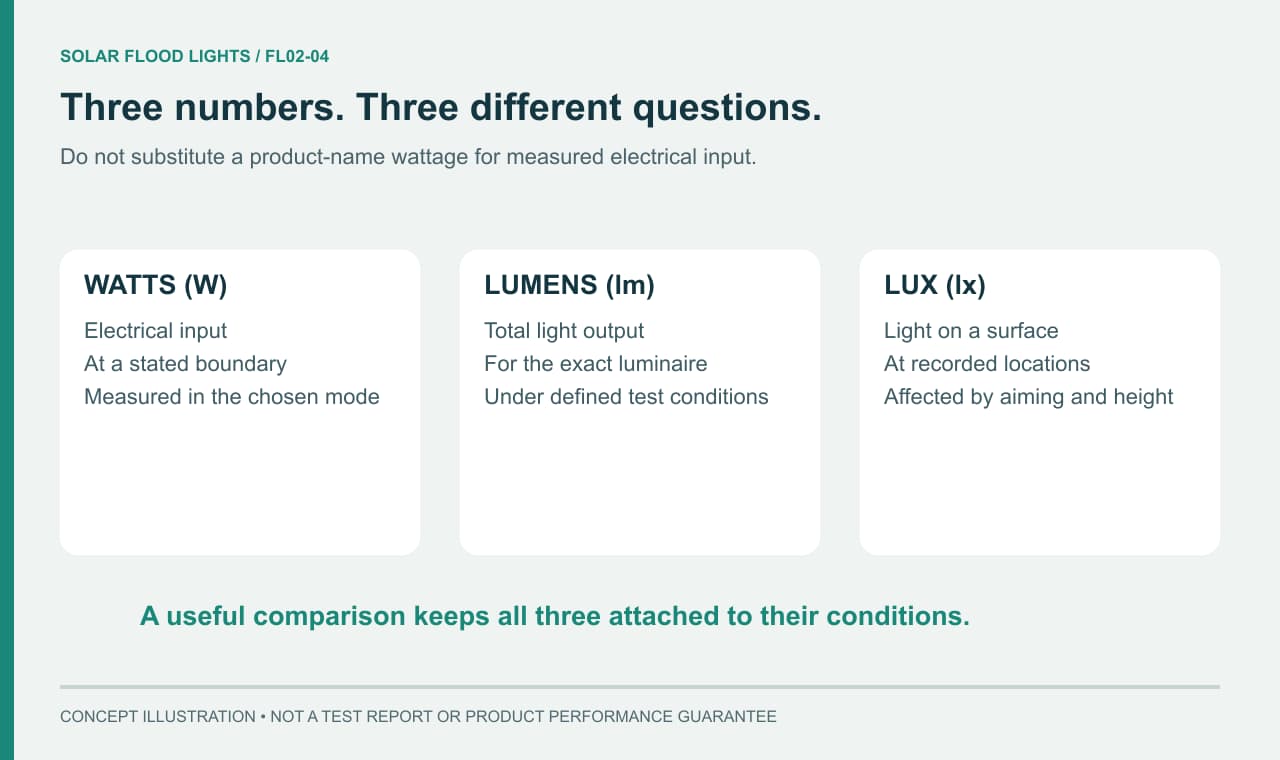
Watts measure electrical power when they refer to a defined, measured input. A number such as “100W” in a product name may instead be a series label or marketing designation. Before comparing it with another product, ask what the number represents and where actual input power was measured.
Distinguish the LED load from the complete system load. A power measurement at the battery output may include the driver and controller; a measurement at the LED board does not necessarily include those losses. The two measurements can both be valid while answering different questions. Neither can be substituted for a lumen test.
For buying purposes, write the marketing label and measured power in separate fields. If the supplier has only provided the former, leave measured power unknown. Assuming they are identical can produce misleading efficiency calculations and an unfair comparison between products.
Light Output Versus the Light Reaching the Target Surface
Lumens describe the quantity of visible light emitted. Illuminance describes light arriving at a surface and is commonly measured in lux; one lux is one lumen per square meter. The distinction matters because output directed outside the required area does not help illuminate your task.
The ENERGY STAR explanation of brightness identifies lumens as the measure of light output, rather than watts. Its household bulb replacement examples are not a conversion chart for solar flood light model labels or outdoor coverage.
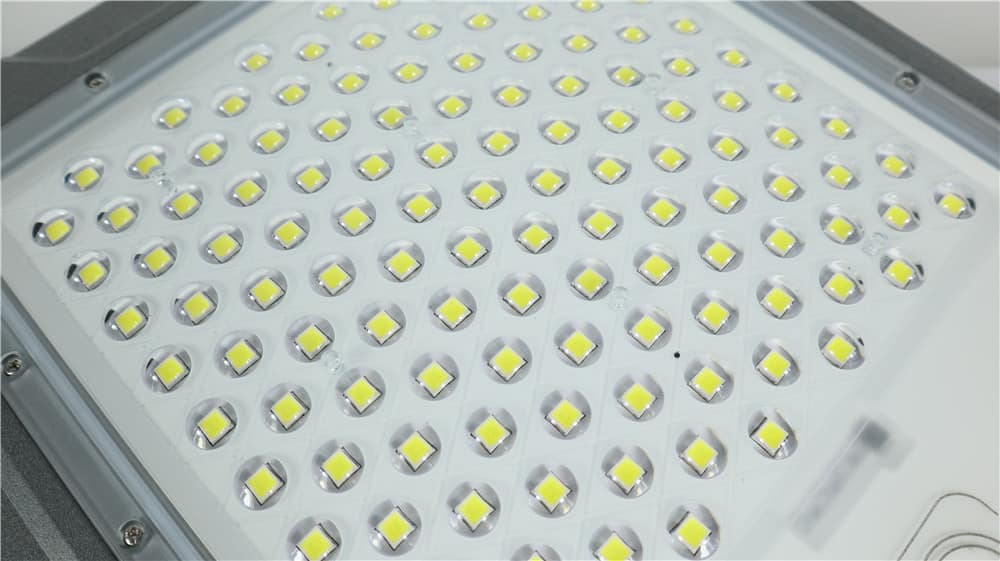
A complete luminaire's measured output is more relevant than adding up nominal values for individual LED chips. Optics, the enclosure, operating current, and temperature can affect the finished product. Ask whether the quoted lumens describe the complete fixture, and whether they apply to the mode you intend to use.
| Metric | What it describes | What it cannot establish alone | Evidence to request |
|---|---|---|---|
| Actual electrical input, W | Power drawn at a stated measurement boundary | Light output or useful coverage | Measurement point, mode, and test conditions |
| Luminous flux, lm | Total visible-light output of the tested fixture | Illuminance at a particular position | Model-specific complete-luminaire report |
| Illuminance, lx | Light arriving at the measured surface | Performance across unmeasured areas | Measurement grid, surface orientation, and geometry |
| Beam distribution | How output is directed | A guaranteed area at every mounting height | Photometric file or distribution report |
| Output over time | Changes during operation | Daily charging sufficiency | Timed readings under a defined mode and starting condition |
Why Can Lights with Similar Lumens Cover Different Areas?
Beam Distribution, Mounting Height, and Aiming Angle
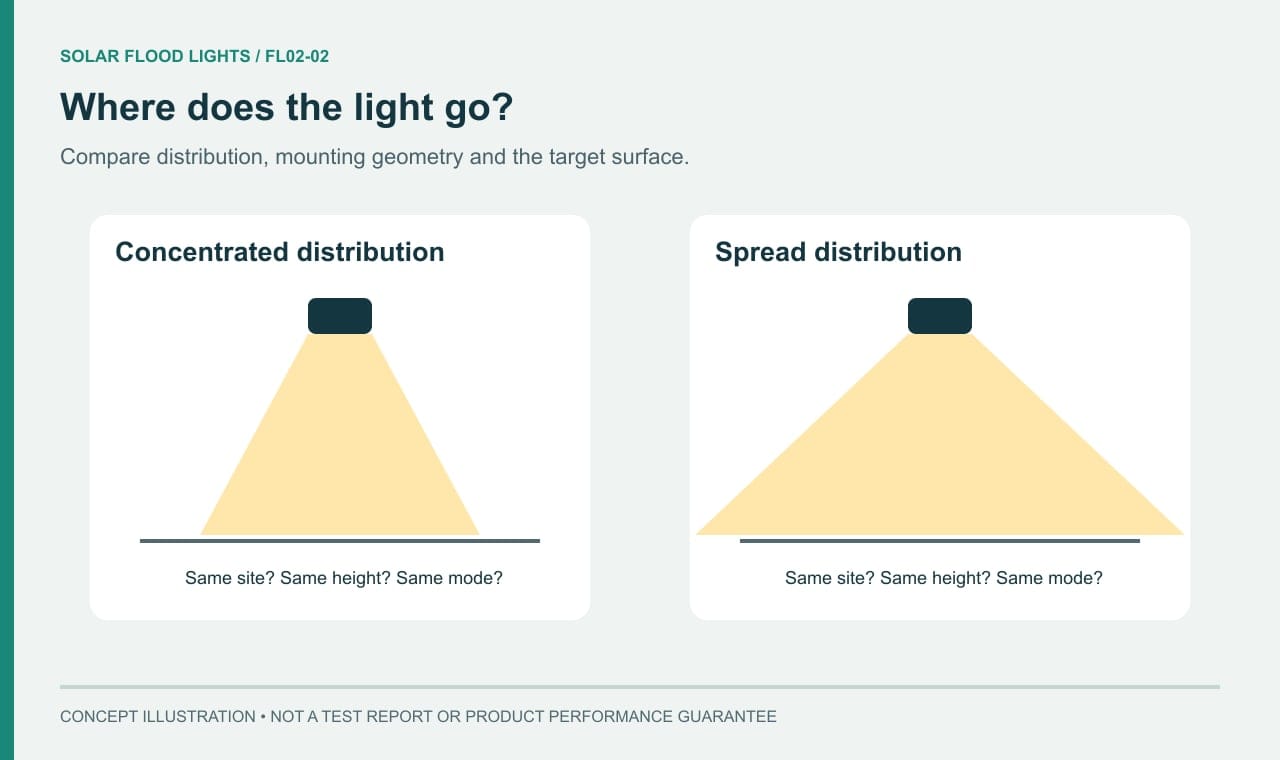
Imagine two fixtures with the same total light output. One concentrates more of that light toward a smaller region; the other distributes it more broadly. The first can create a bright central patch, while the second may provide a wider but less intense spread. Which is useful depends on the shape and location of the task.
Raising a fixture or changing its tilt changes where the light falls. A high position can extend the footprint but also increase distances to the target. Tilting a light farther outward can push output beyond the useful area and expose the source to approaching eyes. An advertised beam angle alone does not describe all of those effects.
Check how the beam angle was defined. For example, a reported angle may describe the directions where intensity falls to half its peak. It does not mean that everything inside that angle has equal brightness, or that there is no light outside it. Use the full distribution and site geometry when assessing a layout.
Center Brightness, Edge Brightness, and Uniformity
A bright spot directly beneath a light can make an installation look impressive while leaving the edges difficult to use. Examine the corners, approach routes, steps, and boundaries of the required area. These positions may matter more than the maximum reading at the center.
For a practical comparison, record the lowest, average, and highest readings from the same measurement grid. Keep the grid and target surface unchanged between candidates. If a project specifies a uniformity ratio, confirm exactly which ratio it uses; minimum-to-average and maximum-to-minimum are different measures.
Where more than one fixture is proposed, assess the combined layout. Overlapping beams can improve some areas while creating excessive brightness or glare elsewhere. Fixture quantity should follow the lighting task and supporting layout data, not a simple rule based on area alone.
Start with the Lighting Task, Not the Largest Number
Lighting Entrances, Activity Areas, and Signs Involves Different Needs
An entrance requires visibility at the latch, threshold, and approaching path. An activity area needs usable light across the space where people move or work. A sign requires light on a vertical face, with lettering readable from relevant viewing positions. A ground-level reading below a sign does not prove the sign face is adequately illuminated.
Specify the task plane before asking how many lumens you need. Identify the dimensions, fixture positions, viewing directions, and any objects likely to cast shadows. The supplier can then provide a proposed distribution or arrange a sample trial for that geometry.
If a project has mandatory lighting criteria, obtain the applicable local requirements and assessment method from the responsible designer or authority. Do not substitute a generic online lux recommendation for a project-specific requirement. A residential convenience light and a regulated working area may need different acceptance criteria.
Consider Ambient Light, Glare, and Neighboring Areas
Ambient lighting changes how the installation is experienced and measured. A lamp near a brightly illuminated shopfront faces different conditions from one in a dark rural yard. Record nearby lighting and evaluate the actual activity rather than relying on the apparent brightness of the LED surface.
Check the view from the driver's approach, pedestrian routes, and neighboring windows. Direct glare can make a light uncomfortable even when it produces substantial output. Adjusting the mounting position, aiming, or optical distribution may be more effective than increasing lumens.
After defining these constraints, browse brightness-related solar flood light options to select candidates for a like-for-like comparison. Treat “brightest” as a search preference to investigate, not a ranking established by a collection name.
Compare Products Under Matching Test Conditions
Match Operating Mode, Installation Geometry, Measurement Positions, and Initial Charge State
A useful trial gives each candidate the same task. Mount it at the same planned height and position, aim it at the same target, and use equivalent operating settings. Follow each model's charging instructions and document the starting condition. A partly charged sample in an automatic reduced-output state should not be treated as a full-output reference.
Mark measurement positions before switching between fixtures. For a small rectangular trial area, a grid covering the center, intermediate positions, and edges can help expose gaps. The grid is a comparison tool, not automatically a compliant measurement method for a regulated project. Use additional points wherever a step, obstacle, or narrow route makes visibility critical.
Place the illuminance meter on the relevant task plane with a consistent orientation. Record the instrument and avoid shading its sensor. Note ambient readings with the test light off; where background light is stable, the difference between on and off readings can help estimate the test light's contribution. If background conditions change, repeat the comparison instead of treating the difference as precise.
Check Output at Switch-On and After Extended Operation
Do not stop after the first photograph. Record the mode, time since activation, and readings at selected intervals, including a late point within the required service period. A comparison may change when a controller dims the light or enters an energy-saving state.
Keep full-output, scheduled-dimming, and motion-boost readings distinct. If a motion mode is part of the requirement, repeat the same approach path and record the observed boost state. Do not compare one sample during boost with another at its background level.
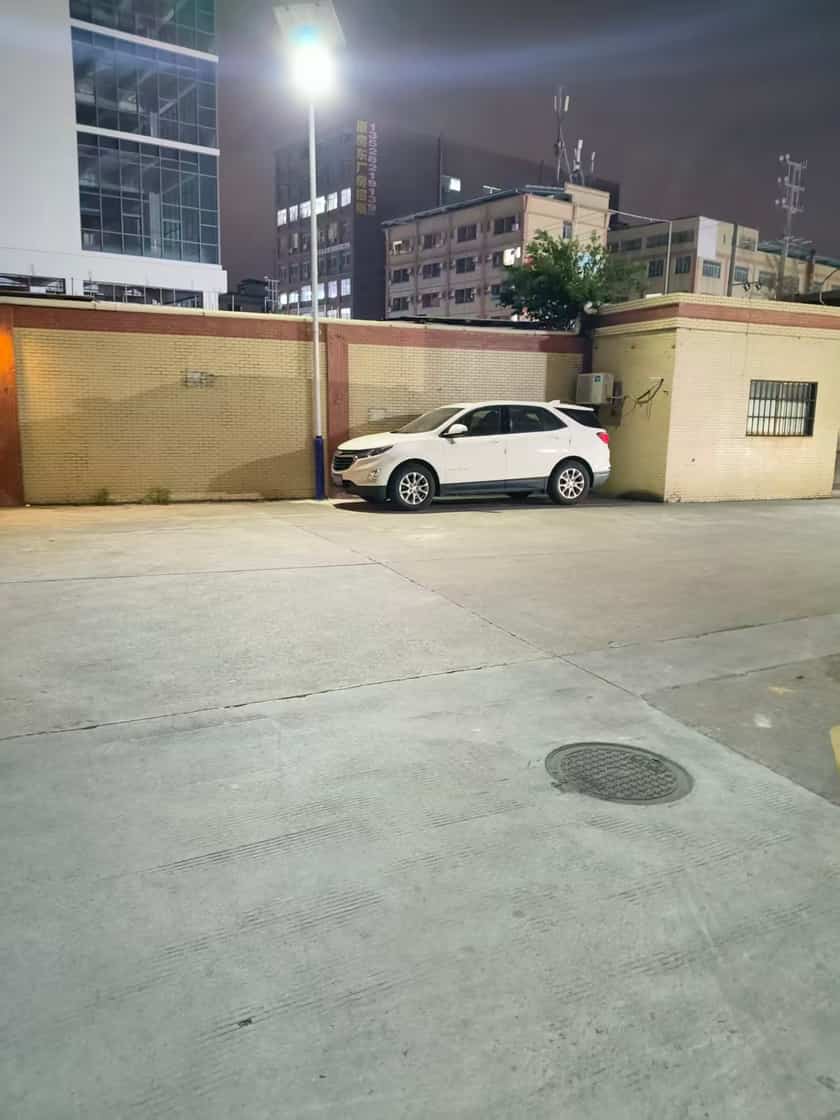
Photographs can document beam shape and visible shadows, but use fixed camera position and exposure for comparison. Automatic exposure and phone night modes can make a dim scene look bright or compress visible differences. Retain the meter readings alongside the images.
Ask Suppliers for Data That Supports the Comparison
Model-Specific Lumen Tests, Actual Power, and Photometric Information
Request the full test identification: model, version, sample date, operating mode, and measurement conditions. For lumen and distribution reports, establish whether the sample matches the proposed supply. A report for a similar enclosure or another version is not sufficient evidence for the exact configuration being quoted.
Read the report fields rather than relying on the title. A report can contain useful optical measurements without valid electrical input data. Blank or zero-valued voltage, current, and power fields should prompt a question; they do not demonstrate that the fixture consumes no energy or establish its electrical efficiency.
For example, when considering the MJ-BW series, request the report for the exact proposed version and ask the supplier to connect the sample identifier to the quotation. A supplied MJ-BW100 photometric report illustrates why this matters: it reports luminous flux, but its zero-valued electrical fields do not provide usable measured input-power evidence. The report alone therefore cannot support a lumens-per-electrical-watt comparison.
Mounting Recommendations, Dimming Behavior, and Test Conditions
Ask the supplier to relate its data to your intended height, offset, aiming, and target dimensions. A photometric file can support a calculated layout when it matches the luminaire and mode; the calculation still depends on correct installation assumptions and should be checked against the site's needs.
Request the output profile as well as the initial output. Establish which settings are adjustable, what happens after the timer changes state, and whether low stored energy changes brightness automatically. These details help you decide whether the lighting result remains acceptable throughout the required period.
Keep unresolved fields visible in the comparison sheet. “Not supplied” is more informative than a guessed conversion, particularly when two suppliers use different naming conventions. Ask for missing evidence before deciding that the lower-priced or higher-labeled option offers equivalent performance.
Build a Useful Brightness Comparison Table
Use a sheet tied to one real task. The example below provides fields for a comparison; it does not report test results or recommend a wattage for a particular area.
| Comparison field | Candidate A | Candidate B | How to make the comparison meaningful |
|---|---|---|---|
| Application and target plane | Record | Record | Same required task and target dimensions |
| Exact model, version, and mode | Record | Record | Match report and sample to quotation |
| Mounting height, position, and aiming | Record | Record | Use the same intended geometry |
| Complete-fixture lumens and report | Record or not supplied | Record or not supplied | Check method, conditions, and sample identity |
| Actual measured input power | Record or not supplied | Record or not supplied | Use the same measurement boundary |
| Center, edge, minimum, and average lux | Measured values | Measured values | Same grid, meter, task plane, and ambient conditions |
| Late-period output | Measured values and elapsed time | Measured values and elapsed time | Compare the same stage of required service |
| Glare, shadows, and unwanted spill | Site observations | Site observations | View from actual user and neighbor positions |
Choose using the combined result. A candidate that produces a lower peak reading may serve the task better if its edges remain useful and glare is controlled. If neither layout meets the requirement, revise the distribution, mounting arrangement, or fixture count and reassess the proposed result.
For a shopfront or compound yard, include the threshold, gate latch, pedestrian route, and any occupied work surface among the comparison points. A bright center photograph can conceal a dark approach path. Repeat the observations near closing time or the required late-night hour, not only immediately after switch-on; the light distribution and the output schedule must both serve the task.
Frequently Asked Questions
Does a 100W Label Tell Me How Bright a Solar Flood Light Really Is?
No. First establish whether 100W describes measured input or a product designation. Then request complete-fixture lumens, distribution data, and measurements under the intended mode. Without those, the label cannot establish real brightness or coverage.
Are More Lumens Always Better?
More output can help when it reaches an area that needs additional light. It can also increase unwanted spill or glare if the distribution is unsuitable. Evaluate the target surface and useful operating period, rather than choosing solely by total output.
Can I Compare Two Lights Using Photographs Alone?
Photographs are useful supporting records when position, exposure, and scene conditions match. They do not replace measurements because camera processing changes apparent brightness. Use them to document layout and shadows, and compare recorded illuminance at the same positions.
How Many Lumens Do I Need for Solar Flood Lights at a Shop Entrance or Compound Yard?
There is no single lumen requirement for every entrance or yard. Record the dimensions, obstacles, viewing positions, and the detail people must see at the doorway, gate, and walking route. Compare illumination under the intended mode and later in the operating period. Total lumens alone do not establish even coverage, acceptable glare, or useful light at the farthest point.
How Much Area Can a Solar Flood Light Cover?
Useful coverage is the area that meets the required visibility, not every surface where a faint patch of light appears. It depends on the distribution, mounting height, aiming, obstructions, and operating mode. Ask for a layout or trial with measurement points at the center and edges; a product-name wattage cannot be converted into a reliable square-meter coverage claim.
Is One Bright Solar Flood Light Better Than Several Smaller Lights?
Not necessarily. Several well-positioned lights may reach around obstacles or serve separate target areas, while one suitable fixture may be simpler for an unobstructed surface. Compare the complete layout, including shadows, overlap, glare, and maintenance. Adding the lumen figures together does not establish the illumination at each point or prove that the arrangement is more efficient.