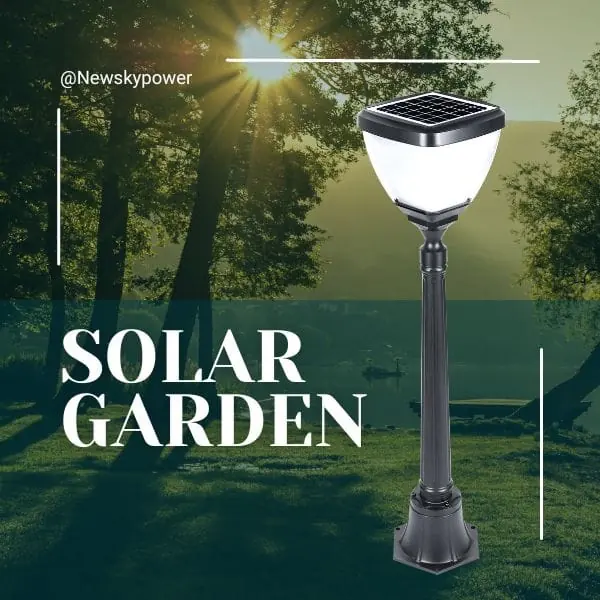


Constant-on and motion-sensor solar wall lights solve different courtyard problems. Constant operation provides an ongoing background state; dim-to-bright keeps a lower state between events; off-to-bright leaves the light off until its defined trigger operates. Choose according to the entrance, walking route and neighbouring views, then test the exact model at night.
Do not choose from the word “sensor” alone. The background state, detection behaviour and return sequence determine how the light feels in daily use. A useful mode at a busy doorway may be distracting beside a quiet seating area.
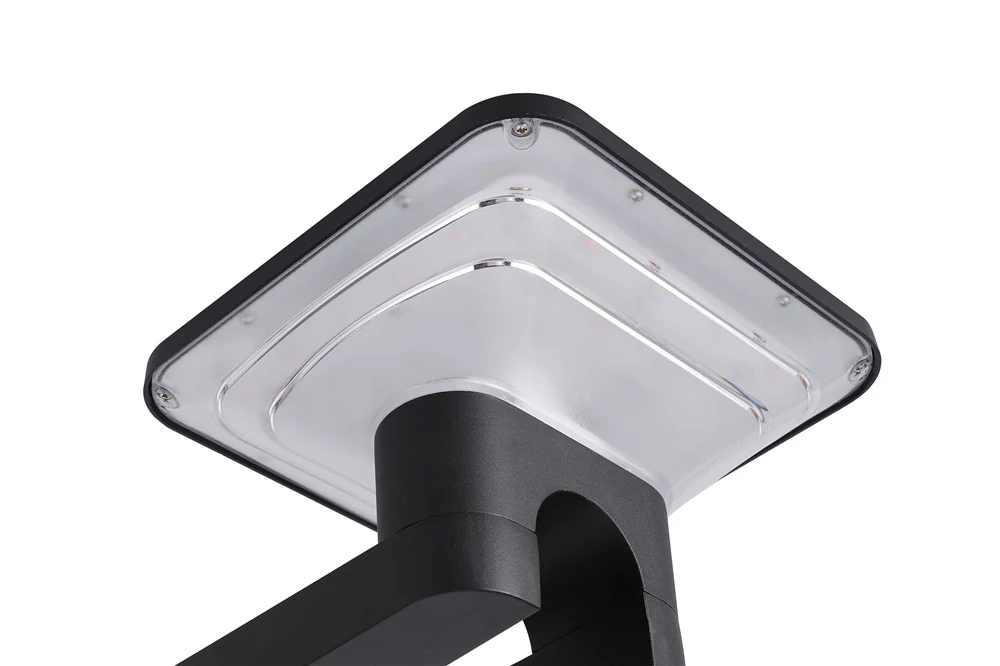
Constant, Dim-to-Bright and Off-to-Bright Modes
Understand the three state sequences
In a constant-on mode, the light maintains its defined operating state during the applicable lighting period. “Constant” should not be interpreted as a guarantee of identical measured output throughout every night unless the product documentation supports that conclusion.
In a dim-to-bright mode, a background level is present before an event, the light rises to its defined event state, and then returns according to the model’s control rule. In an off-to-bright mode, the background is off. The arrival experience therefore depends more directly on whether the trigger occurs at a useful point.
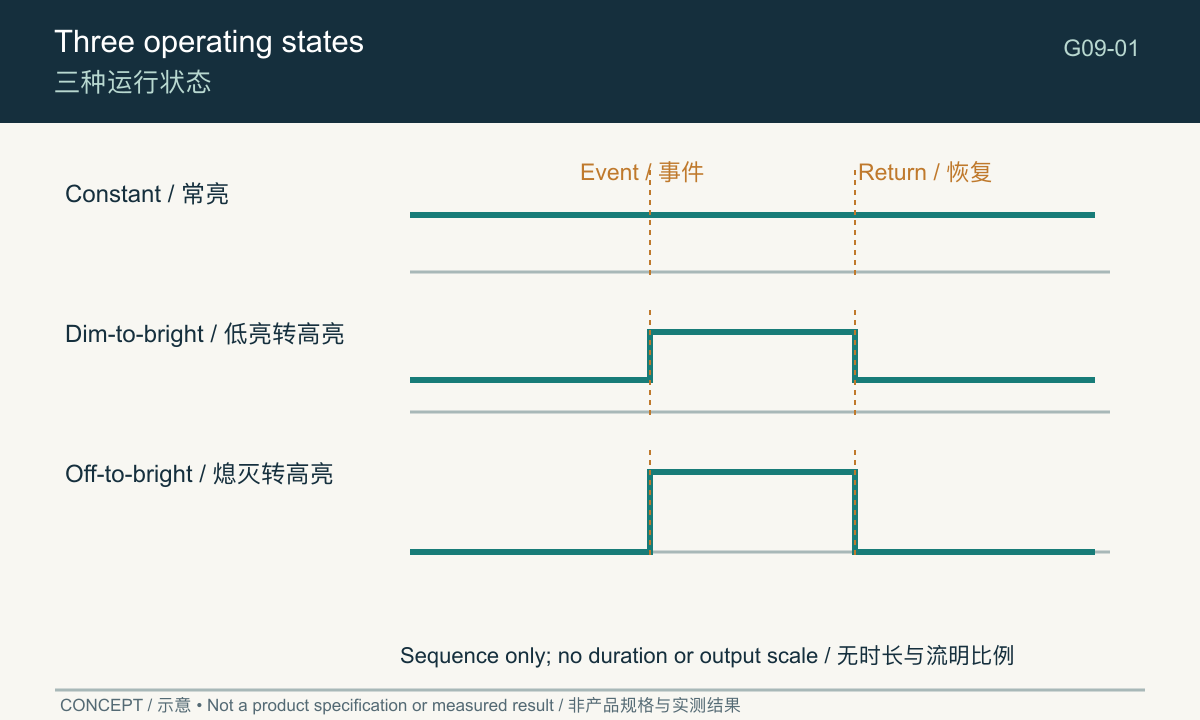
The published CM-BD01 solar wall light page lists these three mode categories. For an order or installation, obtain the instructions for the supplied version rather than transferring button sequences or detection claims from another model.
Separate darkness control from motion detection
A darkness control and a movement detector answer different questions. One determines whether lighting operation is enabled under the surrounding light conditions; the other responds to an event within its supported detection behaviour. A product can combine both.
This distinction helps explain why a light may not behave as expected near an existing lamp. Additional light can influence a light-sensitive control, while an approach route can separately influence event detection. Test each issue instead of assuming that every unexpected result is a failed motion sensor.
Choose a Mode for the Entrance
Think through the arrival sequence: approaching the gate, finding the handle, opening the door and moving inside. The useful mode is the one that supports those actions without creating unnecessary disturbance.
Match the background state to the task
Constant-on is a candidate where an ongoing visual reference matters. Dim-to-bright is a candidate where you want a visible entrance between visits plus an event response. Off-to-bright is a candidate where darkness between visits is acceptable and the trigger can be verified along the actual approach.
None of these categories guarantees that a lock, step or visitor’s face is adequately revealed. Fixture position, light distribution and obstructions still matter. A mode name is not a substitute for seeing the doorway under that mode.
| Entrance condition | Candidate to trial | Main question |
|---|---|---|
| Visitors need a continuing visual reference | Constant or dim-to-bright | Is the background useful without being intrusive? |
| Quiet entrance used occasionally | Off-to-bright or dim-to-bright | Does useful light appear before the critical action? |
| Door beside occupied windows | Any supported mode, carefully positioned | Is direct source visibility acceptable? |
| Frequent movement along a shared boundary | A mode selected after an event trial | Are repeated transitions distracting? |
| Entrance already has another light | Coordinated mode and location | Do the two controls and visible sources work together? |
Trial the transition, not just the bright state
Stand at the entrance before triggering the light. Then approach naturally, use the handle and step away. Note where the change happens and whether the light returns while somebody is still carrying out the task.
An attractive photograph of the brightest state cannot answer these questions. A short observation sequence is more useful because it captures the experience over time.
Check Detection Along Side Paths
Side paths often have a constrained approach direction and obstructions such as corners, planting or open gates. The detector’s location relative to those features matters as much as the light’s decorative position on the wall.
Walk the real route
If the selected product specifies PIR detection, request its documented PIR detection area and installation conditions. Do not derive that area from a drawing of where the lamp emits light. Detection and illumination are separate parts of the site check.
Use the intended mounting position and the manufacturer’s approved setup. Approach from both ends of the path and from any doorway joining it. Include a normal pause where a person might look for keys or wait for someone else.
Do not apply a universal detection distance, mounting height or angle to every solar wall light. Obtain the model-specific instructions, then use the site trial to check whether the documented behaviour serves the actual route.
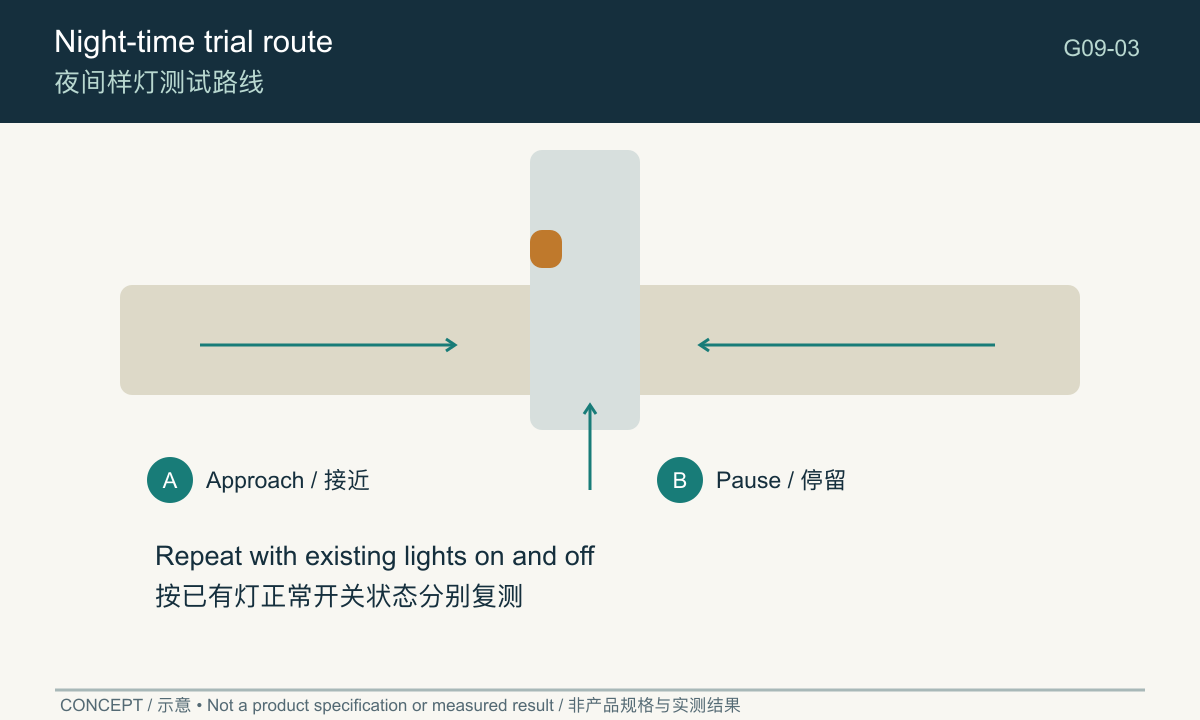
Identify interruptions in the route
A wall corner may interrupt the relationship between the person and the detector. Plants can also change the path over time. Note where an approaching person first becomes visible from the mounting position, but do not treat this simple sightline as proof of detection.
If an event occurs only after the person reaches the step or handle, reconsider the supported mounting position or mode. A background state may help, but it should not be used to hide an unsuitable installation without testing the revised arrangement.
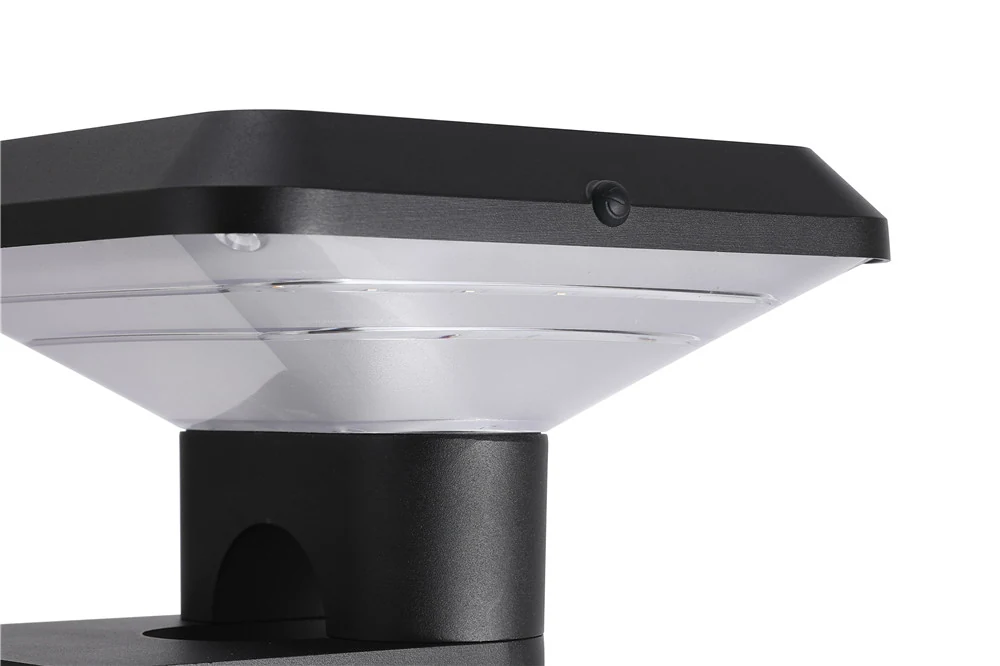
The solar wall light range offers a starting point for comparing forms. Select the detector and control behaviour from the exact product documentation, not from the appearance of a lens or button in a photograph.
Consider Neighbours and Night-Time Disturbance
Neighbour-friendly lighting is a result to verify, not a feature established by a warm colour or a motion-sensor label. Consider direct views of the emitting surface, the frequency of changes and the hours when nearby rooms are occupied.
Look from the affected viewpoints
Review from the property’s relevant windows and boundary positions, with permission where another person’s property would be involved. Check both the background and triggered state. A low background can appear unobtrusive while a frequent bright transition attracts attention.
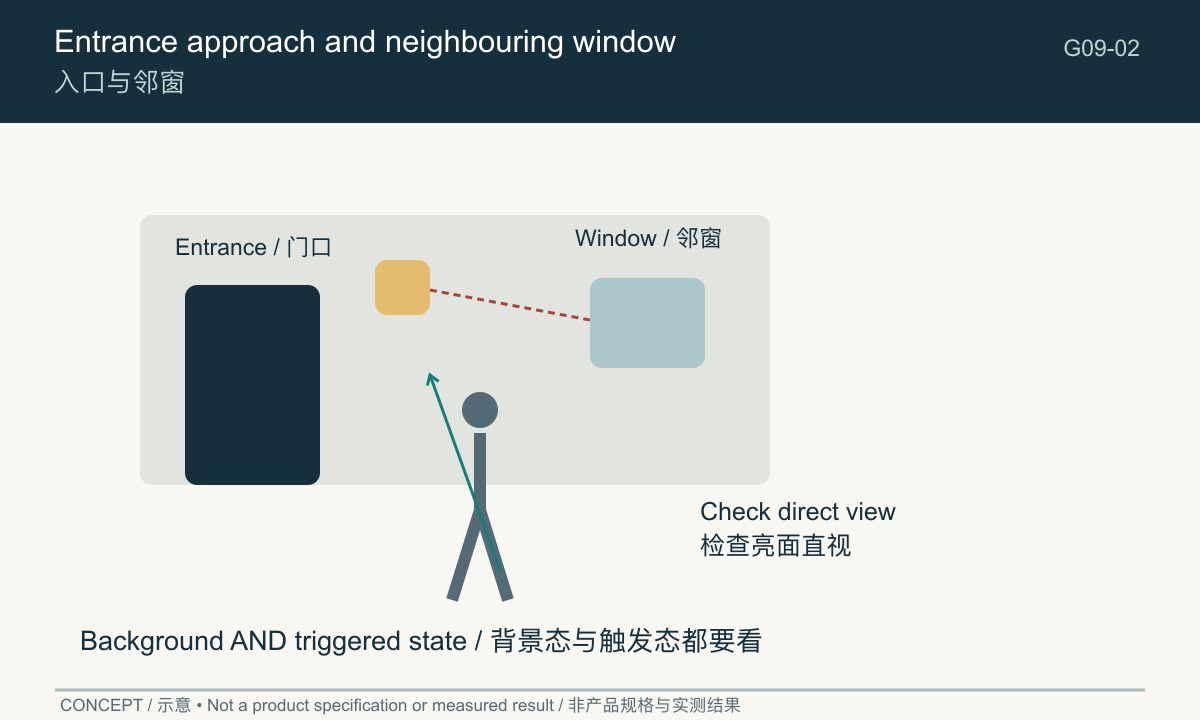
Avoid treating off-to-bright as automatically less disturbing. It removes continuous background light, but repeated sudden changes may be noticeable. Constant operation can be calmer in some views yet remain unnecessarily visible all night. The site and use pattern decide the trade-off.
Check nearby lighting as a separate variable
Repeat the trial with relevant existing lights in their normal on and off states. Record any change in the solar wall light’s activation. Do not move a light-sensitive control or cover a sensor unless the exact instructions call for that action.
A photograph should record the fixture position, while notes record the sequence. Automatic exposure can make two lighting states appear more similar or more different than they looked in person. Keep the observed behaviour alongside the images.
Confirm Modes and Mounting Together
Mode selection and placement should be resolved as one configuration. A control that worked on a temporary table may behave differently when installed at the wall position, and a decorative location may not serve the approach route.
Confirm what is actually supplied
Record the model, version, available modes and approved mounting arrangement. Ask whether settings are chosen on the fixture or by another supported control, and whether they are retained after the documented shutdown or service procedure.
Also identify panel exposure and access for routine external cleaning. A sheltered-looking location can reduce rain exposure while shading the panel. Evaluate those effects separately instead of assuming that the most protected corner is the best solar location.
Keep adjustments within the documented options
If the chosen position fails the trial, compare supported changes: a different permitted position, another available mode or a more suitable fixture. Do not open sealed components or invent a sensor adjustment to make an unsuitable model fit.
For a courtyard with path and entrance fixtures together, the yard lighting guide helps frame the wider selection. Give each light a role so that several independent controls do not create an unplanned sequence.
Run a Night-Time Sample Trial
Prepare a repeatable record
If several people use the entrance, include representative normal approaches rather than one carefully staged walk. A person carrying bags may pause differently from somebody walking straight through. Record the activity and observed response, without extrapolating a universal detection guarantee from a successful attempt. Repeated missed or late responses at the same task point are a reason to revisit the supported arrangement.
Use the actual sample identity and the charging preparation specified for it. Note the date, weather context, mode and existing nearby lighting. Observe from the same marked positions when comparing modes.
| Trial stage | What to do | Record |
|---|---|---|
| Before approach | Observe without a deliberate event | Background state and usefulness |
| First approach | Walk the normal entrance route | Where the change is first noticed |
| Side approach | Use each relevant joining path | Missed or late response |
| Occupied task | Pause at the handle or seating transition | Whether useful light remains |
| Departure | Leave by the normal route | Return behaviour observed |
| Existing lights | Repeat with normal neighbouring light states | Any changed activation |
| Review | Compare supported modes | Keep, reposition or retest |
The trial is sample-tested evidence for the recorded conditions. It does not establish a universal sensor range or a guaranteed night of battery operation. Keep the scope of the result clear when sharing it.
Decide with a specific reason
A useful conclusion might be: “Dim-to-bright gives a useful entrance reference, but the bright state is prominent from the sitting-room window; trial a permitted alternative position.” Another site might retain off-to-bright because the approach triggers usefully and darkness between visits is preferred.
Send the supplier the marked approach sketch, selected mode and unresolved observations. Ask for the model-specific instructions and a configuration that addresses those points, rather than simply requesting a stronger sensor.
Frequently asked questions
Are constant-on or motion-sensor solar wall lights better?
Neither is universally better. Compare the background requirement, event sequence, sightlines and actual approach.
Can nearby lights affect a solar wall light?
They can affect a light-sensitive control, depending on the model and placement. Test with existing lights in their normal operating states.
Can I use a motion light as the only light at an important step?
Only after the complete arrangement has been assessed for the site’s needs. A trigger must not be assumed to provide useful light before every approach; verify the route and any applicable project requirements.
For an overview of fixture types, site conditions and selection priorities, see our garden and courtyard lighting guide.