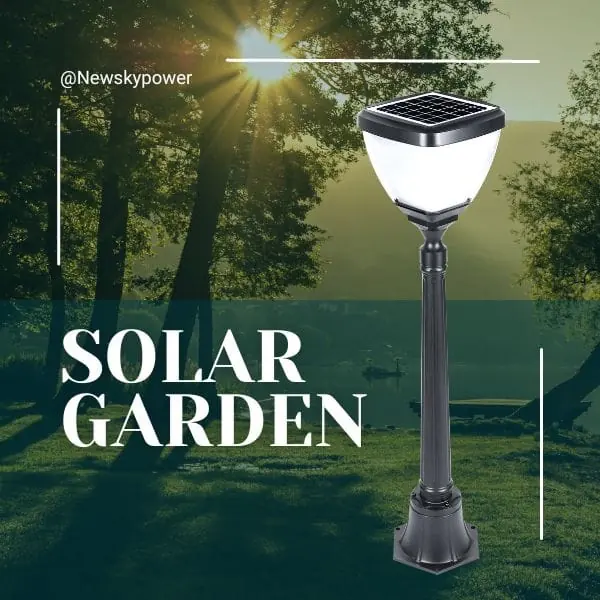


Install solar pathway and bollard lights by following the exact product instructions, checking the proposed location and separating stake installation from fixed-base work. A solar product may not need a new mains cable, but inserting a stake or drilling a base still creates physical risks and site requirements.
The workflow is straightforward: confirm the parts, check sunlight and buried services, use the approved mounting method, complete setup, inspect after dark and hand over a clear record. This guide organises those checks; it does not replace the model-specific instructions or prescribe universal depths, fixings or electrical work.
Confirm Instructions, Parts and Site Conditions
Match the manual to the supplied configuration
Record the model, version and mounting option from the order and package. Check that the instructions cover that configuration. A shared family manual can illustrate several forms, but the parts supplied with one form must not be assumed to fit another.
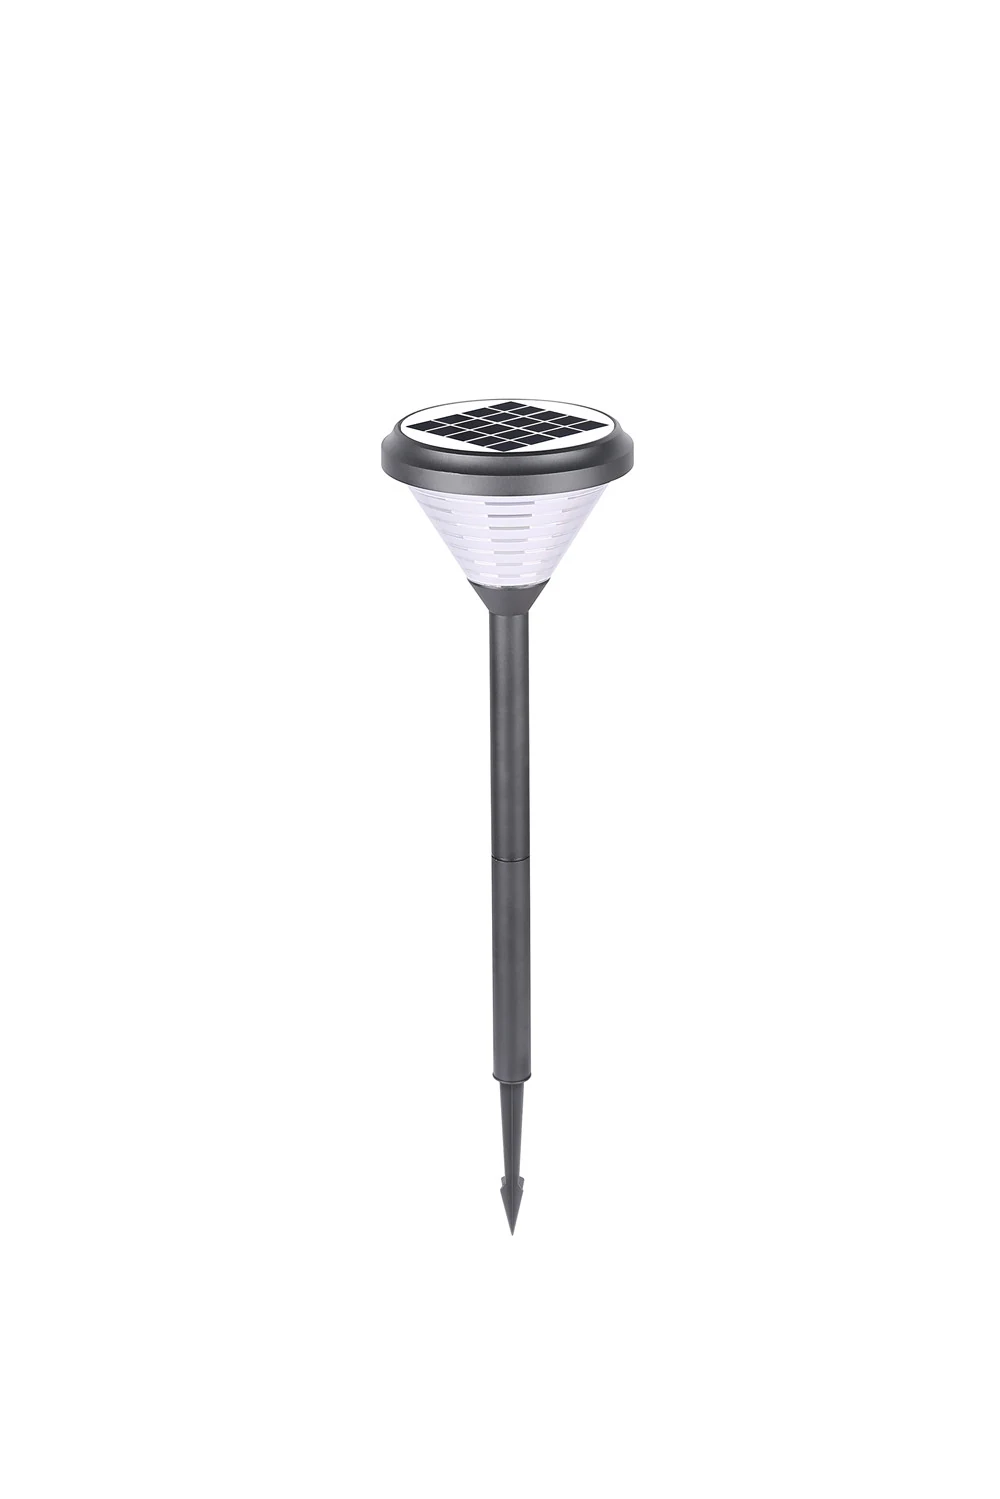
Lay out the components in a safe area and compare them with the approved parts list. Identify the head, rod sections, stake or base and any supplied mounting accessories. Keep packaging labels until the installation and handover records are complete.
Inspect for visible damage before proceeding. A cracked housing, distorted stake or damaged interface should be referred to the supplier rather than forced into assembly. Do not use the first installation as a test of whether a suspect component will hold.
Decide who performs each part of the work
A simple low-level non-electrical check is different from drilling a structure, evaluating a substrate or working near buried services. Assign those tasks to people with the appropriate competence and follow the requirements applying at the site.
If the location or structure is uncertain, pause that part of the work while continuing safe preparation. The fact that a fixture is solar powered does not remove the need for a suitable mounting surface or safe ground investigation.
For the broader choice of position and fixture, the yard lighting guide provides useful context before installation starts.
Check Location, Sunlight and Underground Services
Review the complete position
Mark the intended fixture location without penetrating the ground. Check the walking line, doors, steps, mowing access, irrigation and expected plant growth. Include the panel’s exposure and the view of the emitting surface from seats and windows.
A visually convenient position may be shaded for much of the relevant day. Do not assume a larger battery will solve that location. Compare a better-exposed supported position before fixing the layout.
Nearby artificial light may also affect a light-sensitive control. Note existing fixtures that normally operate at night and include them in the later setup trial.
Check before inserting, drilling or digging
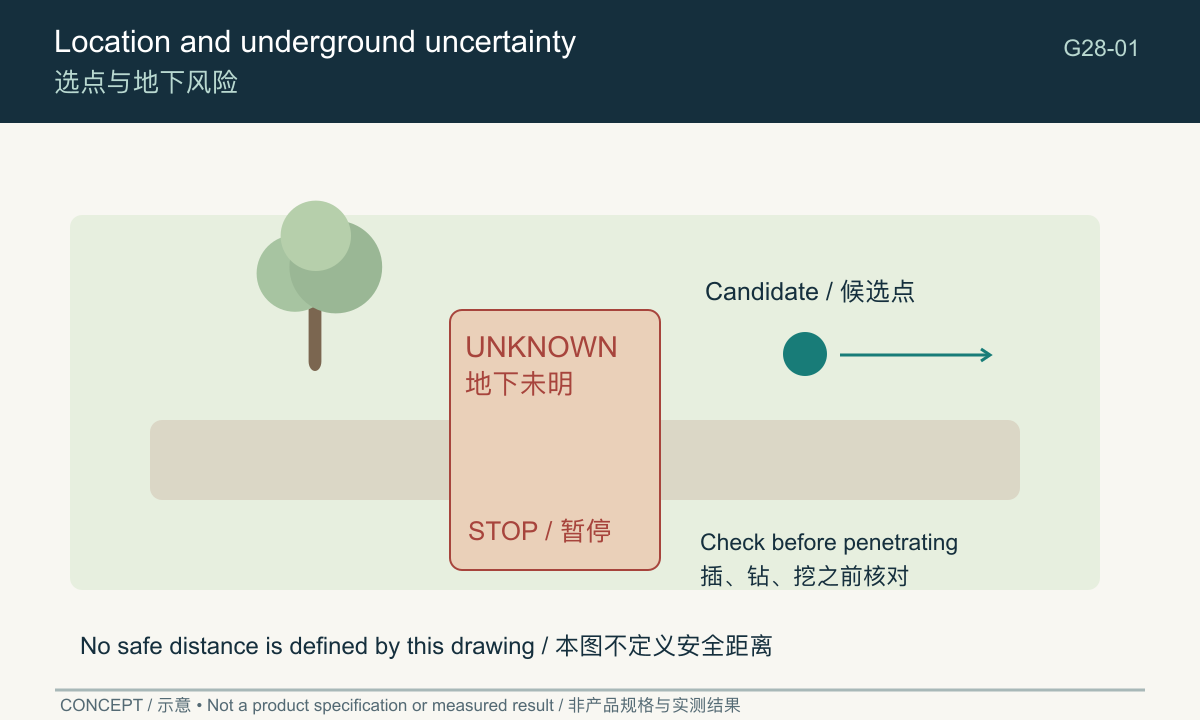
Identify buried electrical cables, irrigation and other services using the site’s appropriate planning and locating process. Surface appearance is not proof that the ground is clear. A short stake should not be treated as harmless simply because no trench is planned.
The UK Health and Safety Executive’s underground-services guidance emphasises planning, locating and identifying services, and safe excavation. Use the applicable local process and competent assistance for your site rather than treating this article as an excavation procedure.
If a location remains uncertain, do not insert the stake or drill there. Mark the unresolved point and obtain the required assessment. Keep that decision visible on the plan so somebody else does not proceed from an outdated layout.
Check a Stake-Mounted Installation
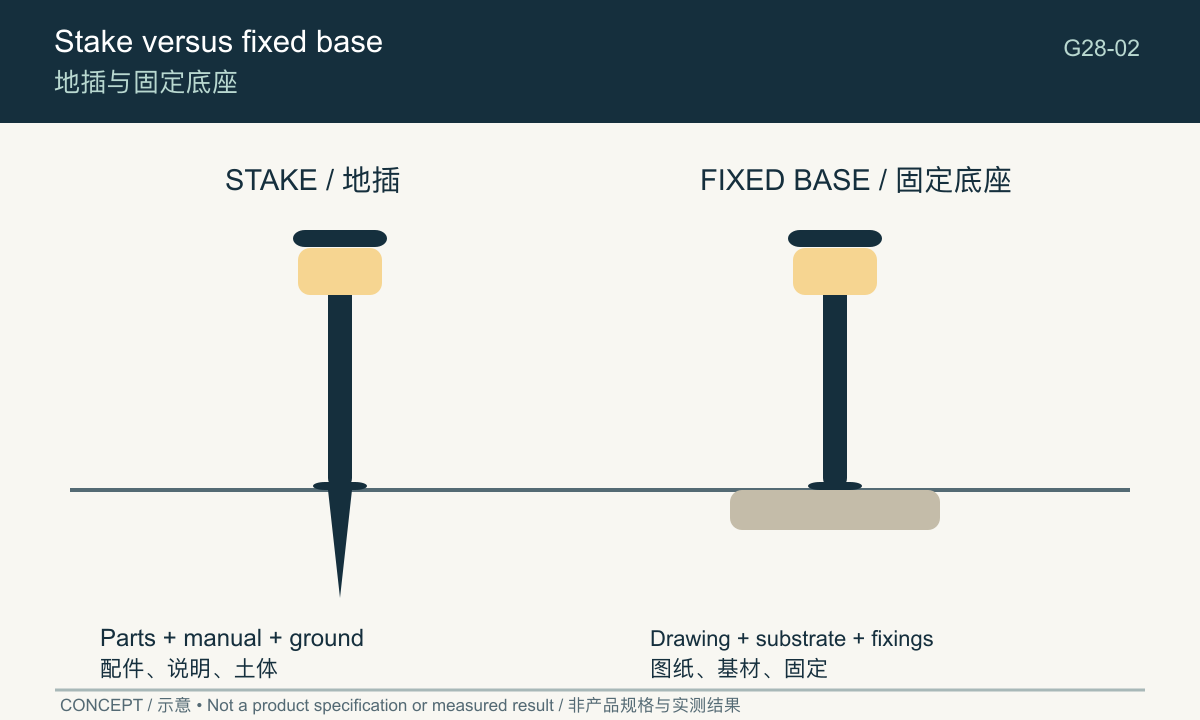
A stake installation depends on the supplied assembly, suitable ground and the method described in the instructions. It is not a universal procedure of pushing on the lamp head until the product looks upright.
Assemble only the supported form
Confirm the rod and stake connections and any orientation requirements before assembly. Use the specified components together; do not substitute an improvised rod or a similar-looking spike.
The source-library SKL family manual explicitly includes SKL-004 and depicts a rod-and-stake form. It describes activation, assembly and light-sensitive operation at family level. Confirm that the supplied version matches before following its control steps; that document does not supply a site-specific ground assessment.
Where resistance prevents the approved installation method, stop and reassess. Do not hammer the solar head, force a stake through unknown material or invent an installation depth. Follow the product’s supported method and the site’s safety requirements.
Check stability and the surrounding route
After the approved installation, check the result for stability using the applicable instructions. Inspect whether the body intrudes into the walking line and whether maintenance equipment is likely to strike it.
Consider how the ground may change with irrigation or routine gardening. A position that appears tidy on installation day can become obstructed by growth or altered soil levels. Record those conditions for the person maintaining the garden.
If the ground cannot provide the required support, do not assume a fixed base can be added to the same product without approval. A different supported configuration may be needed.
Check a Fixed-Base Installation
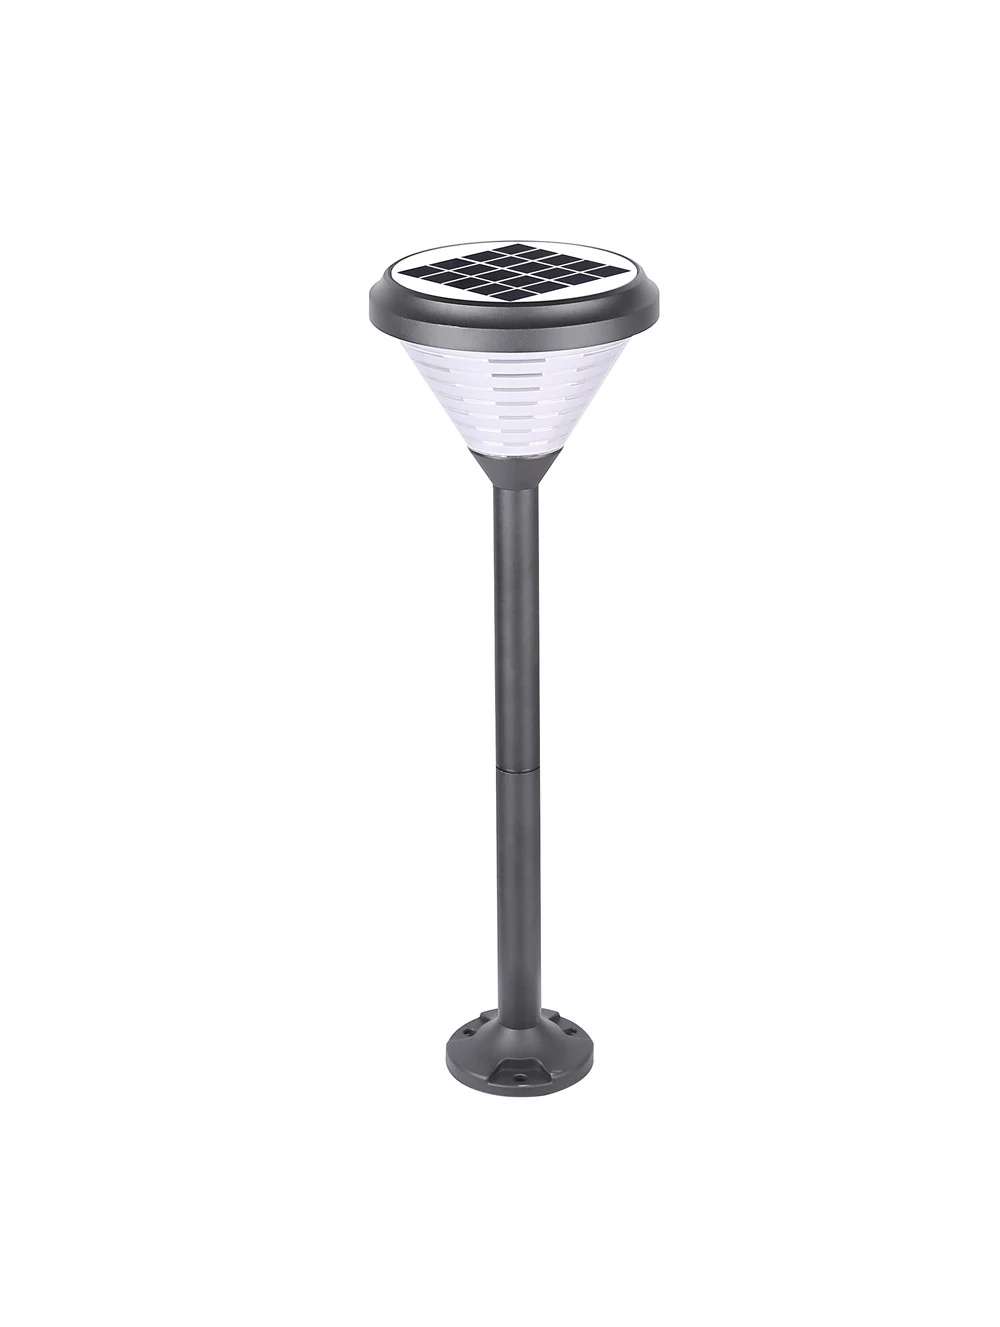
A fixed-base bollard requires a suitable substrate, the correct base and a confirmed fixing arrangement. A base photograph is not a drilling template, and the overall lamp diameter is not the hole spacing.
Compare the base with the site
Obtain the dimensioned drawing showing the base footprint, fixing-hole centres and orientation. Have the appropriate installer confirm the substrate and fixing method. Resolve cracks, loose surfaces, level changes and uncertain construction before drilling.
Use only the supported components and specified procedure. This guide does not prescribe anchor type, hole depth, tightening torque, edge distance or foundation size because those depend on the product and site.
Keep assembly and protection intact
Follow the instructions for any covers, interfaces, seals and access points involved in installation. Do not drill additional holes in the housing or modify a base to make an unsuitable pattern fit.
Check that the installed orientation gives the intended panel exposure and viewing relationship. If a base orientation prevents the intended result, resolve the configuration before improvising a change.
Compare suitable solar bollard light options if the original candidate cannot meet the mounting requirements. Changing the product before irreversible work may be more practical than modifying a poorly matched base.
Complete Setup and Inspect After Dark
Follow the exact activation and preparation instructions
Identify the supported switch or control method and initial charging preparation. Do not assume every solar light arrives activated or uses the same button sequence. Keep the selected mode in the installation record.
For a light-sensitive product, daytime darkness tests and actual night-time behaviour should not be confused. Follow any test method in the instructions, then review the installed fixture in its normal night setting with nearby lights operating as expected.
A specific product-family page such as SLL-002 can help identify the correct supplier enquiry. It should not replace the instructions for a different pathway-light model.
Walk and observe the installed route
Begin from the normal approach and walk in both directions. Check recognition of turns, steps and transitions; inspect the view from nearby seats and relevant windows. Record the exact place where an issue occurs.
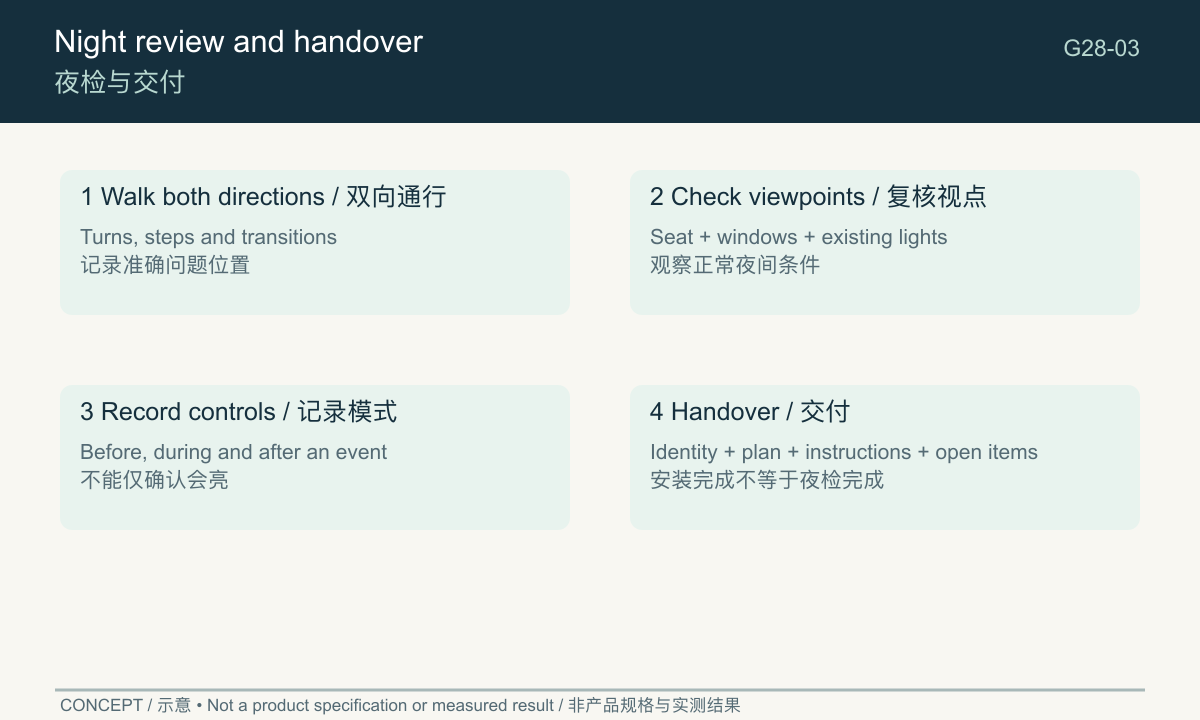
If the product changes state, observe before, during and after the event. Note whether existing lighting affects activation. Avoid declaring a complete installation satisfactory merely because every lamp can be made to switch on.
If changes are needed, identify whether they concern position, a supported setting or the product selection. Recheck the mounting and route after an approved relocation. A night-time improvement should not create a new physical obstruction.
Handover with a Six-Stage Checklist
A handover-ready record connects the installed item with its instructions and the observations made. Use one line per location where several fixtures are installed, with a common plan reference.
| Stage | Required check | Responsible person | Status | Evidence/photo reference | Open item |
|---|---|---|---|---|---|
| 1. Documents and parts | Model, version, manual and supplied assembly agree | Name | Complete / open | Label and parts record | Specify |
| 2. Site clearance | Position, sunlight, route and buried-service process reviewed | Name | Complete / open | Marked plan | Specify |
| 3. Mounting | Correct stake or fixed-base method and stable result | Name | Complete / open | Installation photographs | Specify |
| 4. Setup | Documented activation, preparation and mode | Name | Complete / open | Setting record | Specify |
| 5. Night review | Route, sightlines and control behaviour observed | Name | Complete / open | Viewpoint notes and photos | Specify |
| 6. Handover | Instructions, maintenance and unresolved items transferred | Name | Complete / open | Owner acknowledgement | Specify |
Preserve useful distinctions
For a group installation, photograph each finished position with its reference visible in the record, then take wider views showing the route. Close photographs help identify the assembly; wider photographs explain obstructions and neighbouring conditions. Keep both types. A folder containing only close product images may show that the fixtures were present without showing whether they were installed at the agreed locations or whether the walking line remained clear.
“Installed” is not the same as “night reviewed”. If the installation finishes before sunset, record the physical work as complete and the night review as open. Do not hide the remaining check inside a general completion signature.
Likewise, a sample-tested arrangement should identify the sample and conditions. It is not a promise of identical performance under every season or weather pattern. Future observations should be compared with this record, not with an unqualified recollection.
Give the owner the model list, location plan, selected modes, approved maintenance instructions and supplier contact route. Include any areas where plants or irrigation may change the conditions.
Close the task with a specific next action
For each open item, record who will resolve it and what evidence is needed. “Review the turn beside B2 after dark” is actionable. “Check lighting later” is easy to overlook.
Send the completed record with any installation enquiry or service request. A manual-led, site-checked process makes solar garden light installation easier to understand and maintain without replacing the specialist work that some locations require.
Frequently asked questions
How do I install a solar stake light?
Match the supplied rod and stake to the instructions, clear the location through the appropriate site checks, use the approved method and verify the result. Do not force the head into hard or uncertain ground.
Can fixed-base bollards be installed on any paving?
No. The substrate, base geometry and fixing arrangement must be suitable and assessed before drilling.
What should I check after dark?
The actual route, changes of level, seated and window views, selected modes and interaction with nearby lights, followed by a recorded decision.
For an overview of fixture types, site conditions and selection priorities, see our garden and courtyard lighting guide.