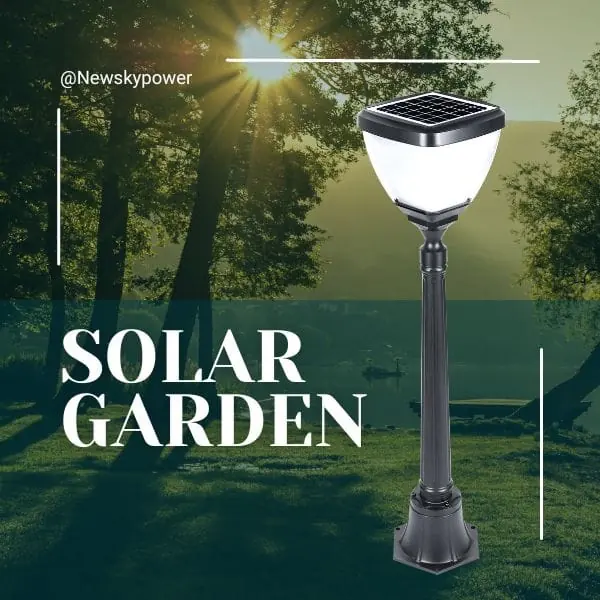


The right solar bollard light height depends on the ground level, mature planting and the people looking towards the fixture. There is no single best height for every garden path. Separate the product’s fixture height from its installed height and the position of its emitting surface, then compare candidates at the actual site.
A shorter light can suit an open edge yet disappear behind growing plants. A taller version can clear foliage while becoming more noticeable from a bench or window. The useful question is not simply “short or tall?”, but “what changes at this location when the light is raised?”
Fixture Height vs Installed Height
Establish one ground reference
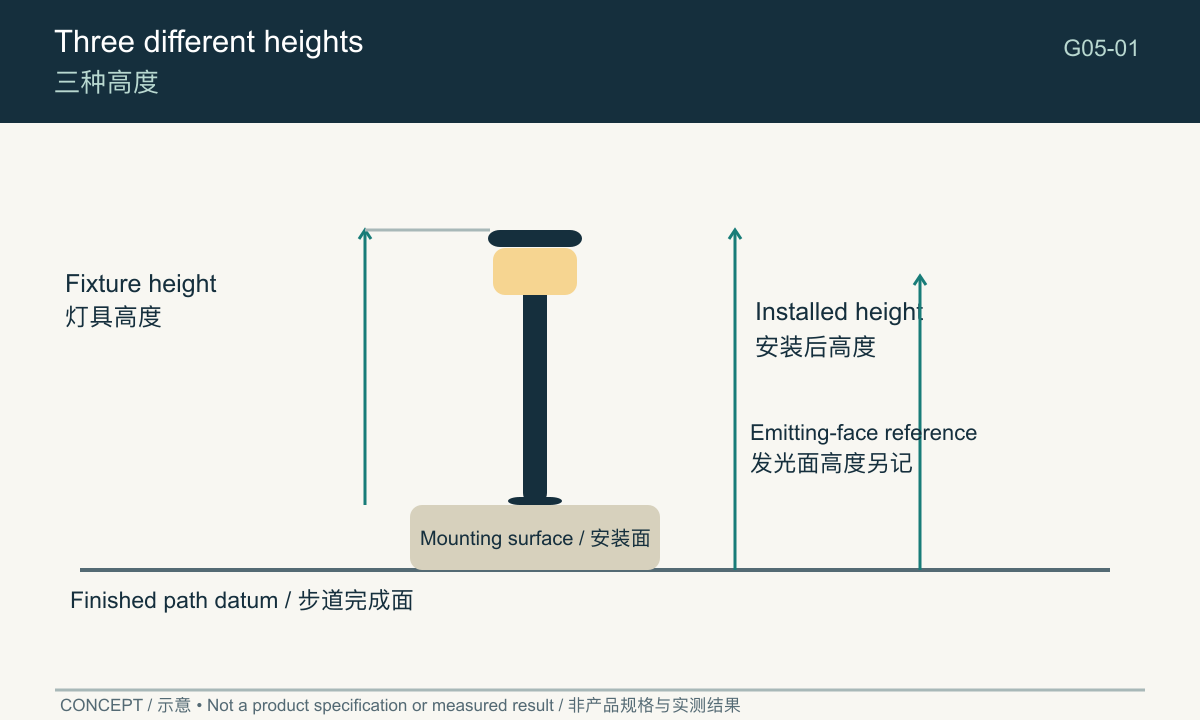
Fixture height is the dimension assigned to the product or assembly on its drawing. Installed height is measured after mounting, from the agreed finished ground reference to a stated point on the fixture. The emitting face has its own position and may sit below the highest part of the housing.
Write down all three where they matter. A quoted overall height does not automatically give the height of the luminous surface. Likewise, a raised plinth or a slope can change how high the installed light appears to a person on the path.
Do not measure from loose soil on one candidate and finished paving on another. Mark the finished path level, the mounting surface and any difference between them. On a sloping edge, record the relevant uphill and downhill conditions rather than relying on one photograph.
Compare versions of the same family carefully
Ask for dimensioned drawings showing the body, base and emitting surface. The SLL-002 solar bollard light is a useful product-family starting point, but the actual height option and supplied base should be identified in the quotation.
Where a family offers several heights, do not assume that changing the stem leaves every other component unchanged. Confirm the panel, light head, mounting requirements and finish for each offered configuration. Height selection is only meaningful when the rest of the candidate is understood.
A site record can be simple: candidate reference, drawing revision, finished-ground datum, fixture top and emitting-face position. This turns an impression such as “the tall one looks better” into a comparison that another person can repeat.
Check Mature Plant Height
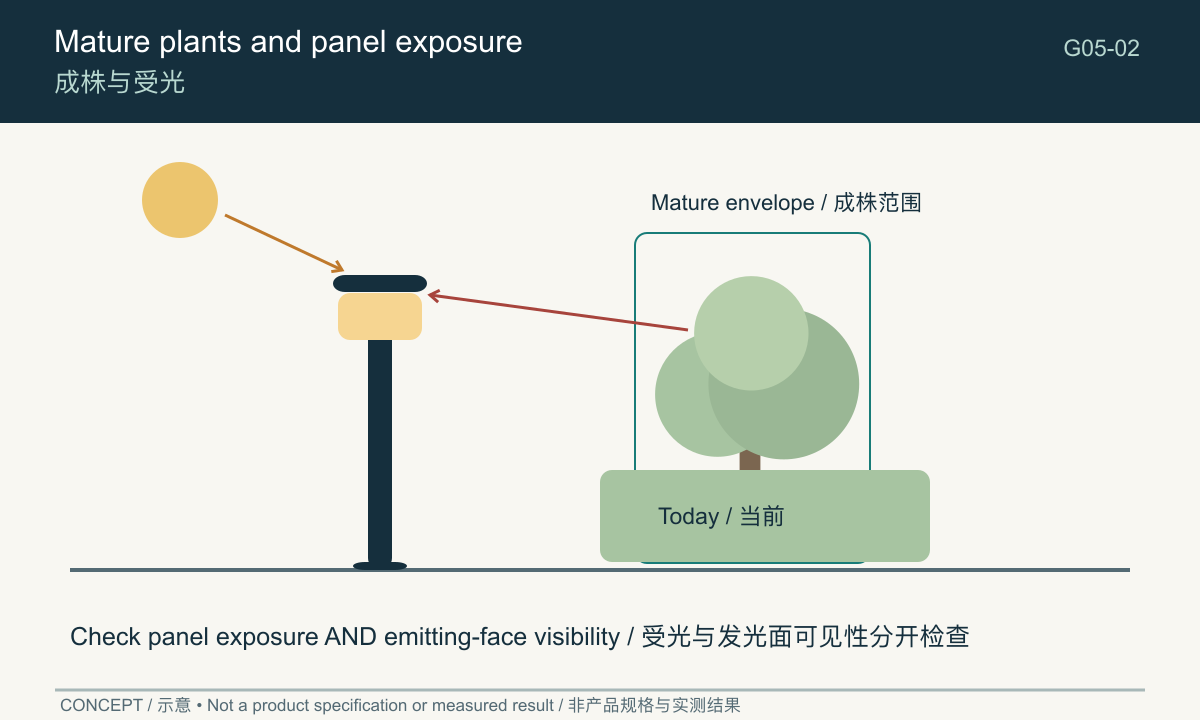
Plants affect both the view of the light and the exposure of its solar panel. These are related but separate checks. A fixture can remain visible while leaves shade its panel; alternatively, the panel can receive light while a low diffuser becomes screened from the path.
Allow for growth, not just delivery-day planting
Ask the person responsible for landscaping about the expected mature form and maintenance practice. A clipped border and a freely growing ornamental grass create different conditions, even if they begin at the same height. Consider the likely spread towards the fixture as well as vertical growth.
Use a temporary marker or a simple outline to represent the planned plant envelope. View each candidate from the walking line. Then inspect whether the solar collecting surface could become shaded or difficult to clean. A taller body does not automatically solve a site shaded by a tree canopy.
Decide whether to change height or location
When plants dominate the edge, moving the candidate to a more open position may be more useful than selecting the tallest version. Compare both options before committing to foundations or a repeated row of lights.
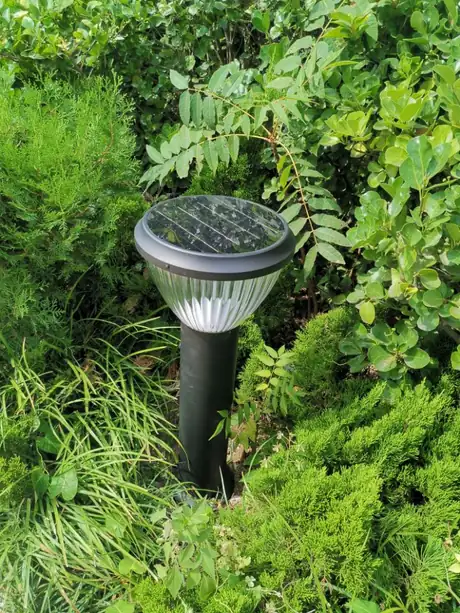
For an open lawn edge, a shorter low-level pathway bollard light may remain clearly visible. Beside dense shrubs, the same form may be obscured. These are site observations, not universal rules assigning a particular height to every plant type.
Also check access for maintenance. A fixture that requires reaching through thorny or dense planting may be inconvenient to inspect. Height selection should support routine cleaning and identification of damage, not only the first evening’s appearance.
Check Standing and Seated Sightlines
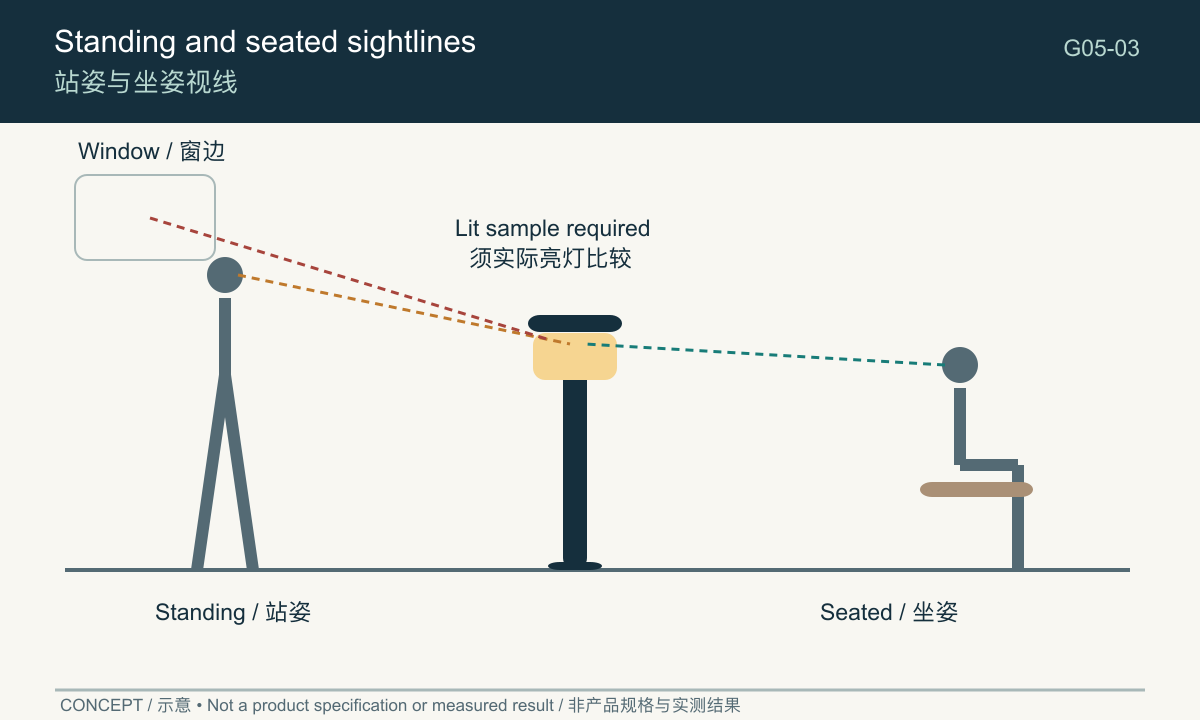
The emitting surface occupies a different position in the view of a walking adult, a seated person and someone looking out from a low window. Check all the viewpoints used in the garden. A light can appear restrained when approached standing up but conspicuous from a nearby chair.
Use the furniture that will actually remain
Place a representative chair at the planned seating location. Look towards the candidate with the chair facing both the conversation area and the route out of the garden. If the seat is raised above the path, include that level difference in the comparison.
Check from the house as well. A fixture that looks balanced from outside may align with a bedroom or living-room window. This does not automatically disqualify it, but it is a reason to examine shielding, position and operating mode alongside height.
Height is not the only comfort control
The position and visibility of the luminous surface matter, as do the housing’s shielding and the light distribution. Choosing a lower fixture can move a bright surface into a seated sightline; choosing a higher one can make it more visible across a larger part of the garden.
Use an actual lit sample to resolve this. An unlit pole or cardboard mock-up helps judge scale and obstruction, but it cannot reveal the brightness of the diffuser or the appearance of nearby paving. Keep those two tests distinct in your notes.
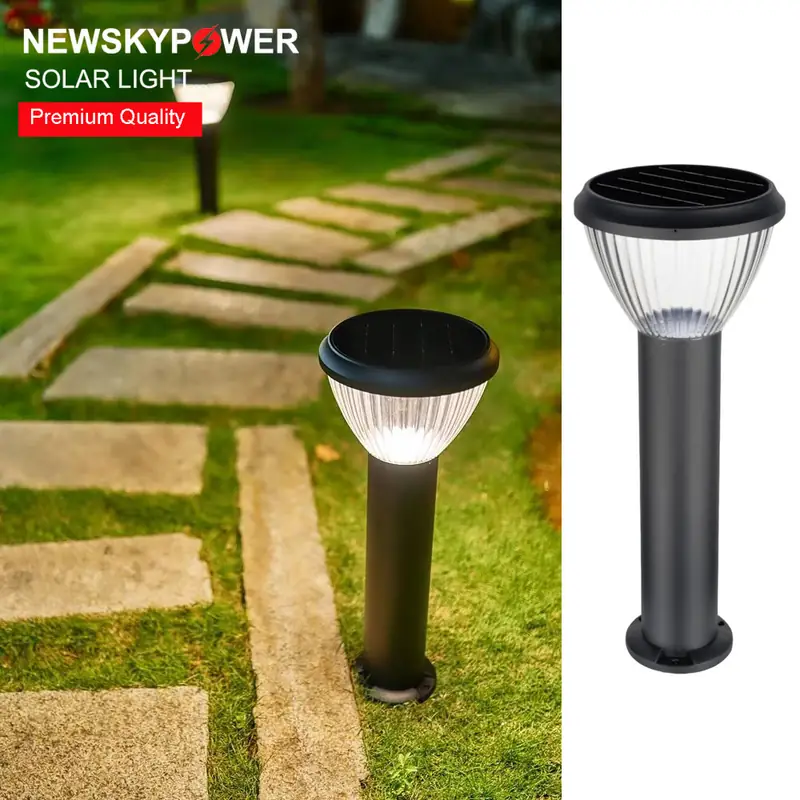
When comparing solar bollard light designs, look at the head shape and visible emitting area as well as the overall height. Two products of similar height may create quite different views.
Consider Paths, Steps and Seating
Match the height decision to the activity at each location. A route used mainly for walking asks different questions from a small seating corner. Steps add another concern: whether their edges and changes of level can actually be recognised, not simply whether a lamp is present nearby.
A location-by-location selection table
| Location | What to inspect | Compare on site | Reason to reconsider |
|---|---|---|---|
| Open path edge | Finished level and clear walking width | Shorter and taller versions from the approach | Fixture obstructs movement or feels out of scale |
| Planted border | Mature foliage and panel exposure | Height change versus moving the position | Either emitting face or panel becomes screened |
| Beside a bench | Seated view and foot space | Visible diffuser, shielding and body position | Light attracts attention more than the route |
| Near a step | Recognition of the level change | View from both travel directions after dark | A bright lamp leaves the edge difficult to read |
| Near a window | Indoor view and occupied hours | Height, location and operating state | Persistent direct view of an uncomfortable source |
| Sloping ground | Different ground references | Installed appearance from both ends | Repeated fixtures look uneven or expose different faces |
This table is a way to narrow candidates, not a height schedule. Record what changed between the two versions and why one better served the location.
Avoid using height to answer a spacing question
Raising a fixture does not establish an appropriate distance between lights. A row can look visually consistent yet leave confusing dark transitions or unnecessary bright points. Position, optics and the purpose of the route need their own assessment.
For the wider choice of fixture types and garden priorities, use the yard lighting guide. Keep the height decision focused: compare the appearance, plant relationship and sightlines of the versions that could reasonably occupy that location.
Confirm Height with an On-Site Sample
Run a daytime check first
Mark the proposed location and finished-ground reference. Compare the product drawing with the sample, including the base and emitting-face position. Check movement around the fixture, access for grounds maintenance and the relationship to doors, edging and furniture.
Use temporary arrangements only where they are stable, safe and permitted by the product instructions. Do not leave an unsecured sample on a public route. Where a safe lit trial cannot yet be arranged, record the daytime result separately and leave the lighting decision open.
Repeat the important views after dark
Review the route in both directions, then sit in the planned seating position and look out from relevant windows. Use the intended operating mode and note the sample’s charging preparation. If comparing two heights on different evenings, record changed conditions rather than treating the nights as identical.
Complete a short record for each candidate:
| Record | Fill in at the trial |
|---|---|
| Product identity | Model, height option, drawing revision and sample reference |
| Ground reference | Finished path and mounting-surface relationship |
| Plants | Current condition and planned maintained envelope |
| Viewpoints | Approach, seat, window and relevant step |
| Observations | Visible source, obstructions and recognition of the route |
| Decision | Keep, move, change height or retest; name the unresolved issue |
A useful conclusion is specific: “Candidate B clears the planned border, but its diffuser is prominent from the bench; test a different position.” That supports a next action. “Taller is better” does not.
Send the selected drawing, site photographs and completed trial record when asking for the final configuration. This preserves the reasoning behind your solar bollard height selection and reduces the chance of an attractive sample being replaced by a different supplied version.
Frequently asked questions
How tall should solar bollard lights be beside a garden path?
Start with the finished level, plant envelope and key views. Compare available versions on site; the path label alone does not determine height.
Should all bollards in a garden be the same height?
Consistency can help appearance, but different planting and seating conditions may justify different choices. Keep the family relationship clear and test transitions.
Can I use a stick instead of a lit sample?
A marker helps assess physical scale. It cannot establish night-time comfort, the visibility of a step or the distribution of light.
For an overview of fixture types, site conditions and selection priorities, see our garden and courtyard lighting guide.