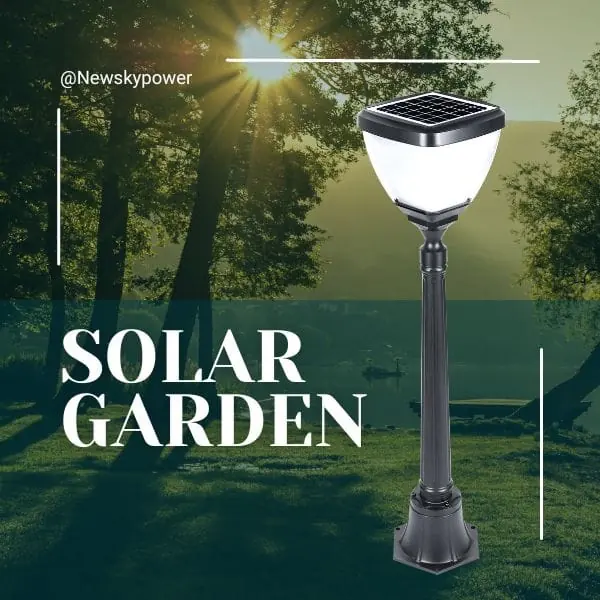


A correct solar street light installation must do more than hold a lamp on a pole. It must give the solar panel reliable access to sunlight, distribute light across the intended road area, resist local wind and soil conditions, protect every connection from water, and remain serviceable. Pole height, spacing, foundation size and panel angle therefore cannot be selected from wattage alone. Collect the site data first, verify the lighting layout, then install and commission the system as a complete energy-and-lighting package.
For an overview of available architectures, start with Newskypower’s solar street light range.
Information to Collect Before Installation
Record the project location, road width, lane and sidewalk arrangement, target lighting level, nightly schedule, proposed mounting height and quantity. Add local solar resource, seasonal weather, trees and buildings, soil and drainage, design wind conditions, underground utilities and access for lifting equipment. These inputs allow the lighting, electrical and structural teams to work from the same assumptions.
If the lamp has not yet been selected, complete a project-specific solar street light design calculation before fixing pole positions.
How to Plan Pole Height and Spacing
Why pole height affects coverage and illuminance
A higher mounting point can spread light over a larger area, but the illuminance reaching the pavement may fall unless the luminaire output and optics support that height. A lower pole concentrates light but may require more poles and can create brighter and darker zones.
Why spacing-to-height ratios are only a starting point
A spacing ratio cannot account for road width, lens distribution, setbacks, intersections, pedestrian conflict, surface reflectance or the required uniformity. Use preliminary ratios only to create a first layout, then verify it with the actual IES or LDT photometric file.
Single-side, staggered and opposite-side layouts
Single-side layouts suit some narrower roads. Staggered or opposite layouts may improve coverage on wider roads, but they change quantity, foundation positions and glare. FHWA guidance treats mounting height, pole spacing, photometrics, road geometry and required lighting quality as connected design variables.
When simulation is required
Use a DIALux or equivalent calculation when the road is wide, curved or multi-lane; when a tender defines illuminance or uniformity; or when glare, spill light, intersections or mixed pedestrian traffic matter. See the companion guide on commercial solar street lights for road projects.
How to Select the Installation Position
Inspect shade at several times of day. Trees, buildings, signs and utility lines can reduce charging even when the location looks clear at noon. Confirm that the luminaire faces the road while the panel keeps its required solar orientation. Keep the pole clear of drainage paths, vehicle swept paths, pedestrian access and unsafe roadside positions. Local authorities and qualified designers should approve final locations.
Solar Street Light Foundation Preparation
Foundation design inputs
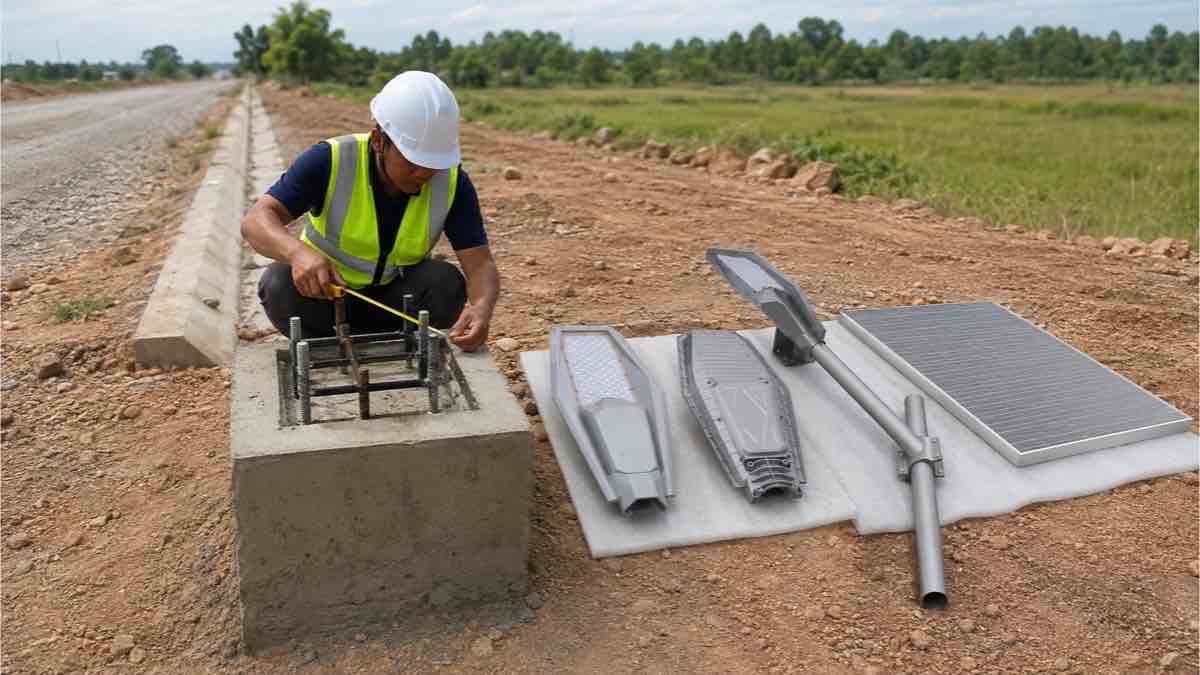
Foundation design depends on pole height and geometry, luminaire and panel wind area, local design wind speed, soil bearing and drainage conditions, anchor arrangement and local structural requirements. There is no responsible universal foundation depth. Obtain an engineered drawing when project risk or local rules require it.
Anchor cage, conduit and concrete preparation
Set the anchor cage to the specified orientation and elevation. Protect threads, keep the template level, and route conduit so cables are not sharply bent or exposed to standing water. Confirm reinforcement and concrete requirements against the approved drawing.
Curing and alignment checks
Do not erect the pole until the concrete has reached the strength required by the project engineer. Recheck bolt spacing, projection, level, drainage and cable access before lifting. The light pole manufacturer page provides context for coordinating poles with the luminaire system.
How to Assemble Different Solar Street Light Types
All-in-one solar street light installation
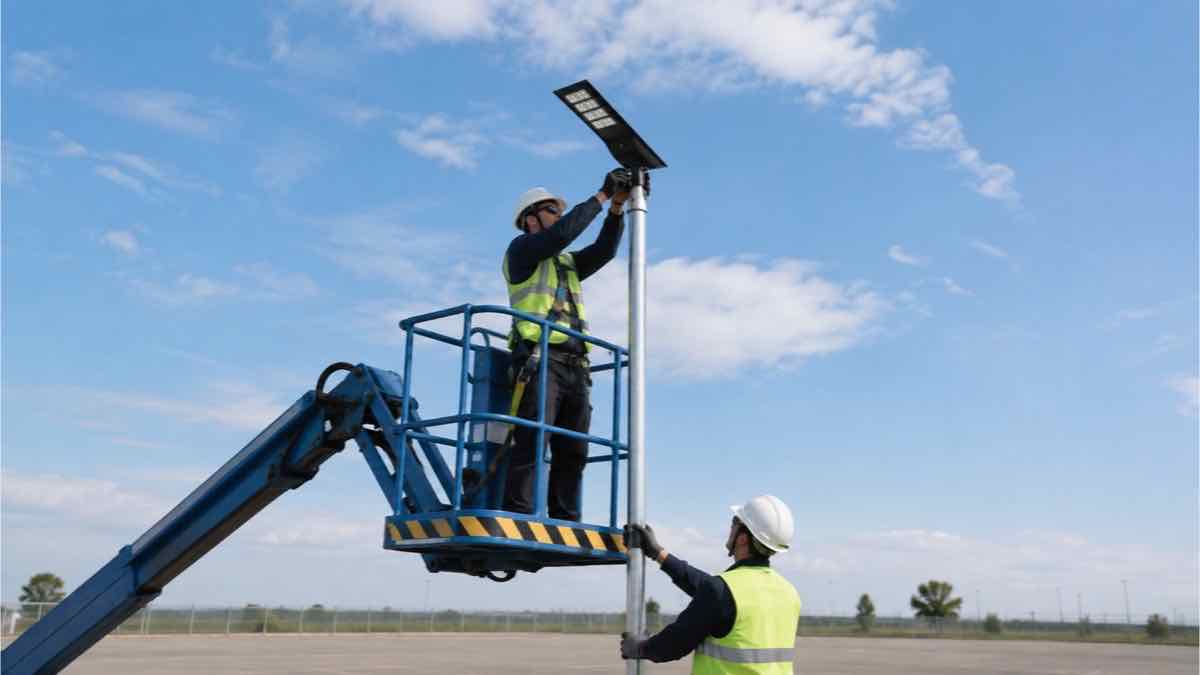
An all-in-one solar street light normally reduces field wiring because the panel, battery, controller and LED are integrated. Confirm arm diameter, tilt options, orientation, activation procedure and fastener torque before lifting.

All-in-two solar street light installation
An all-in-two design normally separates the panel from the combined lamp and battery section. It adds mounting and cabling work but provides more freedom to aim the panel. Label mating connectors and protect cable loops.
Split solar street light installation
A split solar street light has separate panel, luminaire and battery/control components. It offers configuration and service flexibility but requires the most careful cable routing, polarity checks and enclosure placement.
Solar Panel Direction and Tilt Angle
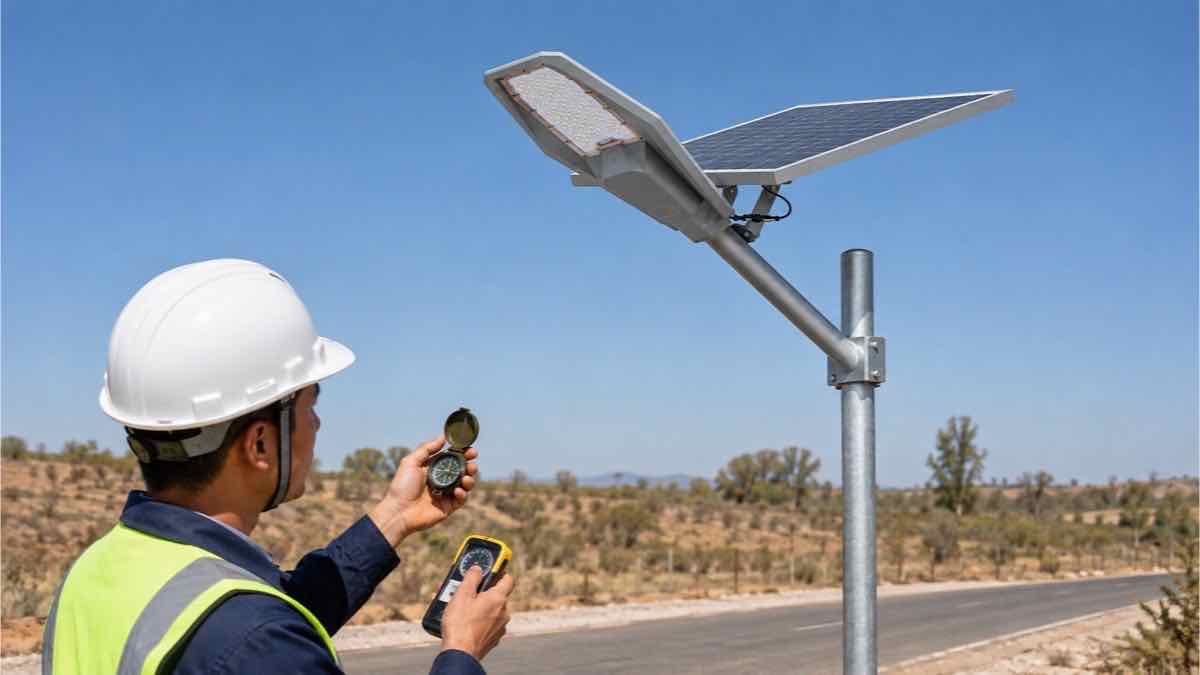
In the Northern Hemisphere, an unshaded fixed panel commonly faces generally south; in the Southern Hemisphere, it commonly faces generally north. The final azimuth and tilt should reflect latitude, seasonal solar access, terrain, local weather data and the months with the lowest useful resource. Avoid self-shading from the pole or luminaire. A generic angle copied from another country may reduce winter charging.
Pole Erection, Wiring and Final Assembly
Inspect components on the ground first. Check model numbers, damage, connectors, polarity labels, brackets and torque requirements. Use a qualified lifting plan, maintain exclusion zones, align the pole vertically and tighten structural fasteners to the approved specification. Weatherproof connectors must be fully seated, strain-relieved and positioned to avoid trapped water. Activate the battery and controller only in the manufacturer’s sequence. For transport-constrained sites, review modular light-pole options.
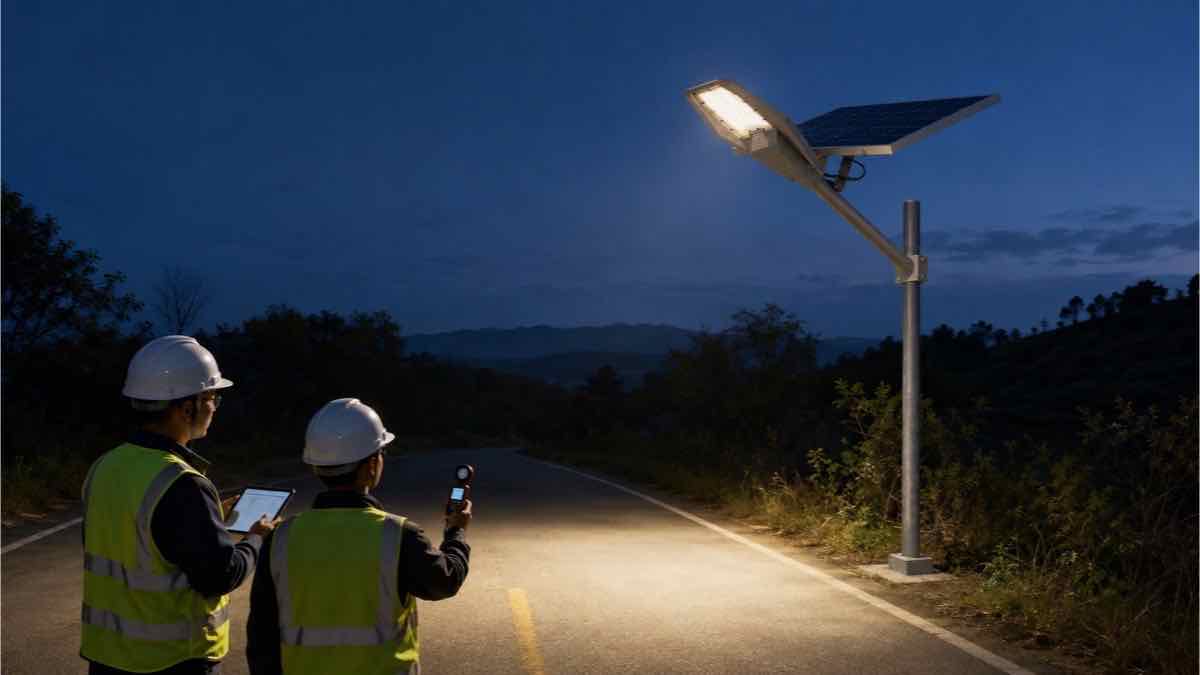
Testing and Commissioning the System
Confirm charging voltage/current or controller status in daylight. Cover or simulate the light sensor only by the approved method to test night mode. Verify the hourly dimming program, motion response and low-power behavior. After dark, inspect aiming, dark areas, glare and unintended spill; take measurements if the project has photometric acceptance criteria. Record pole ID, settings, date, readings, photographs and any corrective work.
Commissioning should also confirm that the installed equipment matches the approved schedule. Check luminaire model, optic, panel and battery identification, controller program and mounting height against the submittal. A light can switch on correctly and still fail the project if the wrong lens, program or mounting position was installed. For a multi-pole project, inspect a representative group across different road conditions rather than accepting only the easiest location.
Create a punch list for misalignment, damaged coatings, loose access covers, unexpected shade, water pathways and inconsistent settings. Close each item with a photograph or measurement. This record gives the owner a baseline for later troubleshooting and prevents installation defects from being mistaken for product aging.
Common Installation Mistakes
- Installing where seasonal shade reaches the panel
- Selecting spacing from advertised wattage alone
- Reusing a foundation detail without checking wind and soil
- Leaving connectors unsupported or exposed to water
- Connecting batteries with unchecked polarity
- Lifting before ground-level functional testing
- Skipping nighttime inspection and handover records
Solar Street Light Installation Checklist
| Stage | Check |
|---|---|
| Before work | Approved layout, utilities located, foundation/pole drawings confirmed, components matched |
| Foundation | Anchor cage level, conduit protected, drainage considered, curing accepted |
| Assembly | Panel orientation, polarity, cable protection and specified fastener torque verified |
| Commissioning | Charging, dusk switching, dimming, sensor response and nighttime coverage checked |
| Handover | Pole IDs, settings, photos, measurements, manuals and spare-parts list recorded |
Frequently Asked Questions
How high should a solar street light pole be?
Choose height from road geometry, optics, target lighting quality, spacing and structural constraints—not from wattage alone.
How far apart should solar street lights be?
Create a preliminary layout, then verify spacing with the actual photometric file and required uniformity.
How deep should the foundation be?
Depth and geometry depend on pole loads, wind, soil, drainage and local structural rules. Use an approved project drawing.
Which direction should the solar panel face?
Aim it toward the equator as a general starting principle, then optimize for local seasonal solar access and shading.
Can an all-in-one light use an existing pole?
Only after checking arm compatibility, structural capacity, wind area, orientation, cable/service access and owner approval.
How should the system be tested?
Test charging and functions on the ground, verify controller modes after erection, then inspect or measure the result at night.
Request a Preliminary Installation Review
Provide the project location, road width, proposed pole height and spacing, quantity, nightly operating hours, drawings and site photographs. Newskypower can use those inputs to discuss a preliminary system and layout; final lighting and structural approval remains project-specific.