

There is no universal number of watts or lumens for a solar street light. The correct output depends on the road or area width, mounting height, pole spacing, optical distribution, required ground-level illuminance and uniformity, nightly dimming program, and local solar resource. Start with the lighting task—not the wattage printed on a product page. Then match the real LED energy demand to a panel, battery and controller that can support the intended schedule.
Newskypower’s solar street light range shows several system formats, but project data must determine the final selection.
Lumens, Watts, Lux and Foot-Candles Explained
Lumens measure total light output
Lumens describe the light emitted by a source or luminaire. They do not reveal where that light reaches the ground.
Watts measure electrical power, not brightness
Watts describe electrical input. Two luminaires drawing the same power can produce different lumens because LED, driver, thermal and optical efficiency differ.
Lux and foot-candles describe light reaching the surface
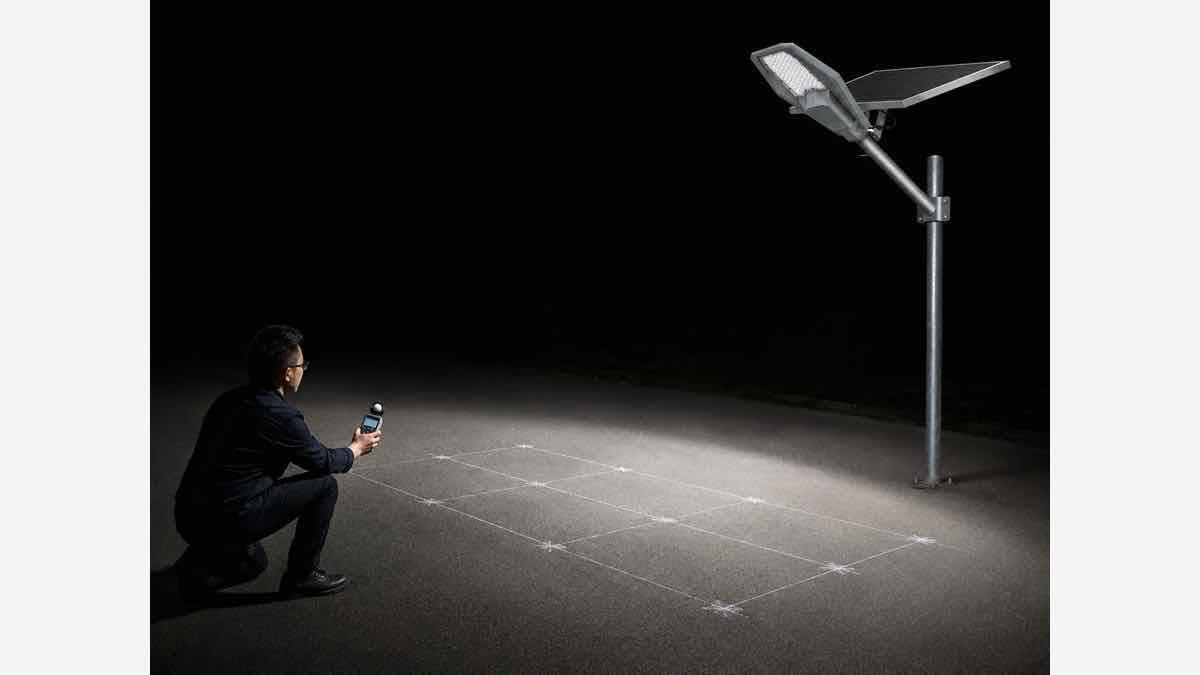
Lux is lumens per square meter; a foot-candle is one lumen per square foot. Designers calculate multiple points, not only a bright spot, because average, minimum and maximum values help describe coverage and uniformity.
Efficacy connects output and input
Luminaire efficacy is delivered lumens divided by electrical watts. DOE guidance distinguishes LED-source performance from the complete luminaire, where driver, thermal and optical losses matter.
Why Nominal Wattage Can Be Misleading
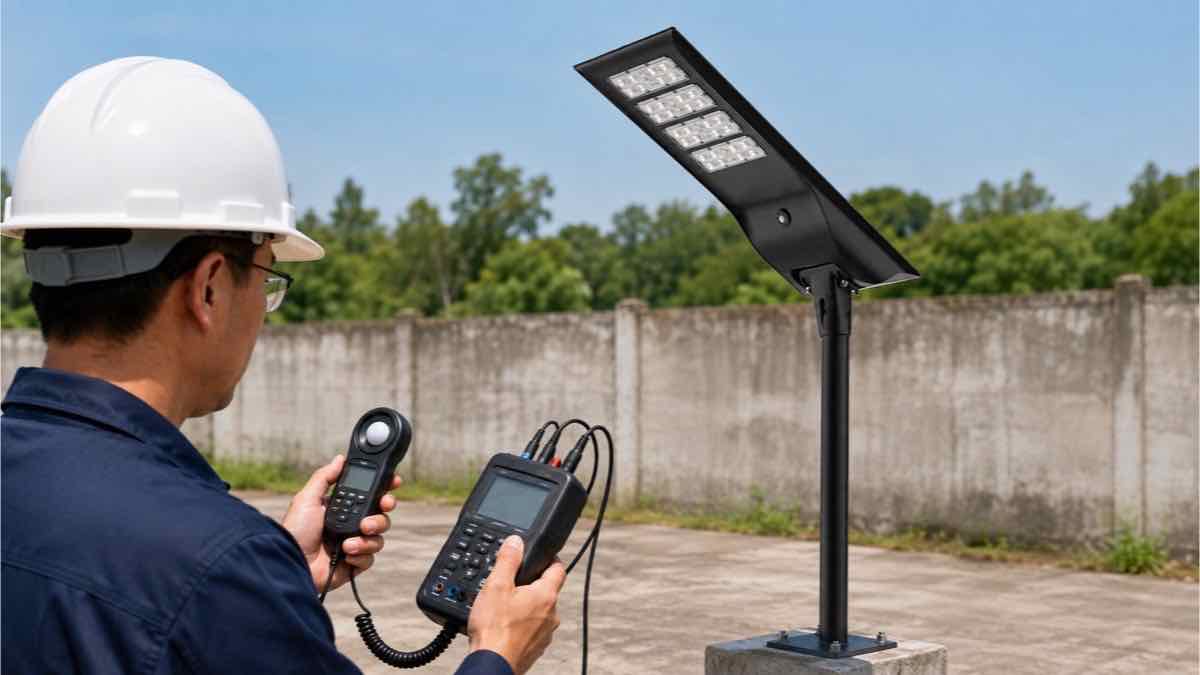
“100 W” may mean actual LED input, a nominal product class or a marketing label. A controller may also reduce power during much of the night. Ask for measured luminaire watts and lumens at stated conditions, rather than assuming a larger number is brighter.
Solar limits matter too. Full-output LED demand must be supported by usable battery watt-hours and the energy collected by the panel. A realistic engineering-type configuration method should disclose the assumptions instead of copying another project’s configuration.
Project Inputs That Determine Required Light Output
| Input | Why it matters |
|---|---|
| Road/area geometry | Defines the surface that must receive useful light |
| Pole height and positions | Change beam reach, overlap and glare |
| Target illuminance/uniformity | Defines performance, normally by owner or applicable guidance |
| Optical distribution | Directs lumens along a road or across an open area |
| Surface and surroundings | Affect reflected light, spill and contrast |
| Operating schedule | Determines nightly energy use |
| Solar and weather conditions | Determine recoverable charging energy |
Use local requirements for municipal projects; the municipal solar street light page is a product starting point, not a substitute for project criteria.
Step-by-Step Selection Method
1. Define the application and lighting target
Identify whether the site is a village road, municipal road, parking lot, path or industrial area. Record the owner’s maintained-lighting requirement and any glare or spill limits.
2. Select preliminary pole height and layout
Use site geometry and available pole positions. Higher poles can widen coverage but may reduce ground-level intensity. Follow the solar street light installation guide when confirming layout constraints.
3. Select optical distribution
Roadway optics generally distribute light lengthwise; open-area optics spread it more broadly. The lens must match the layout rather than merely produce a circular bright patch.
4. Estimate lumens and verify illuminance
Develop a preliminary lumen range, place the selected IES/LDT file in DIALux or equivalent software, and review average/minimum values, uniformity, glare and spill. Revise height, spacing, optics or output as needed.
5. Match the energy system
Convert the hourly lighting profile into watt-hours. Match it to usable battery energy, controller limits, panel generation under local seasonal conditions and the required recovery/autonomy margin.
6. Check maintained rather than initial performance
A new luminaire is not the whole design. Dirt, component tolerance, thermal conditions and lumen depreciation can reduce delivered light over time. The lighting calculation should use an agreed maintenance or light-loss approach and should distinguish initial results from maintained results. The owner should understand which value is being accepted.
7. Iterate instead of forcing one variable
If the first calculation misses the target, do not automatically increase watts. A revised optic, smaller spacing, different mounting position or more suitable pole height may improve uniformity with less additional energy. The final choice is usually an iteration between lighting performance, solar-energy capacity, structure, installation cost and maintenance access.
Example Selection Scenarios
| Scenario | Inputs to request | Selection logic |
|---|---|---|
| Narrow village road | Width, pedestrian use, shade, local solar data | Prioritize useful road distribution, simple service and realistic dimming |
| Two-lane municipal road | Classification, lanes, pole layout, maintained criteria | Verify optics and uniformity with project-specific photometrics |
| Wide commercial road | Median/setbacks, traffic, intersections, pole limits | Compare staggered/opposite layouts and glare control |
| Parking/open area | Site plan, parking rows, cameras, boundaries | Use area coverage and dark-spot analysis, not a road-only rule |
See the detailed commercial road project guide and commercial parking lot lighting guide for application-specific inputs.
How Pole Height and Spacing Change the Result
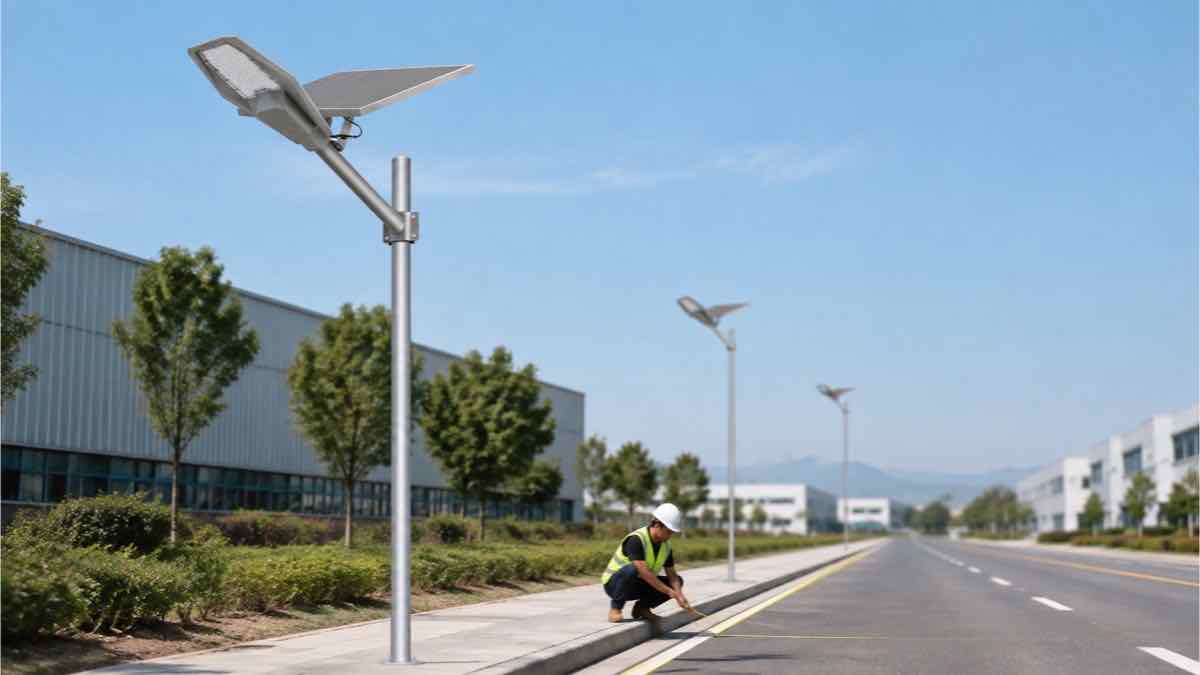
Increasing height may widen the beam footprint but reduce illuminance. Increasing spacing reduces fixture quantity but can deepen dark zones between poles. A different lens may improve useful overlap without increasing watts. For this reason, a photometric iteration usually provides a better answer than a fixed “wattage by pole height” chart.
What to Request From a Supplier
- Actual LED/luminaire input power and delivered lumens
- Luminaire efficacy and test conditions
- IES or LDT file for the offered optic
- DIALux calculation using the project layout
- Battery voltage, Ah and Wh, plus assumed usable capacity
- Panel wattage and local solar-resource assumptions
- Hour-by-hour dimming or sensor schedule
- Relevant test reports tied to the offered model
The Ultimate Guide to Solar Street Lights can help buyers organize the wider product comparison.
The documents should identify the exact offered model and optic. Check whether the photometric file name, report input power and quotation refer to the same configuration. Ask whether lumen output is measured at luminaire level or estimated from LED-package data. Also request the controller’s programmed output by hour; a “60 W” unit that operates at several power levels cannot be evaluated from the headline value alone.
For international projects, convert units consistently. One foot-candle equals approximately 10.764 lux, but converting a number does not convert the underlying design requirement. Use the unit and maintained criteria specified by the project owner or applicable authority.
Common Selection Mistakes
- Buying from advertised watts alone
- Ignoring optical distribution and uniformity
- Comparing battery Ah values at different voltages
- Requesting full brightness all night without an energy calculation
- Treating a previous project as proof for a new climate and layout
- Accepting a photometric report that uses a different product file
How to Review a Photometric Report
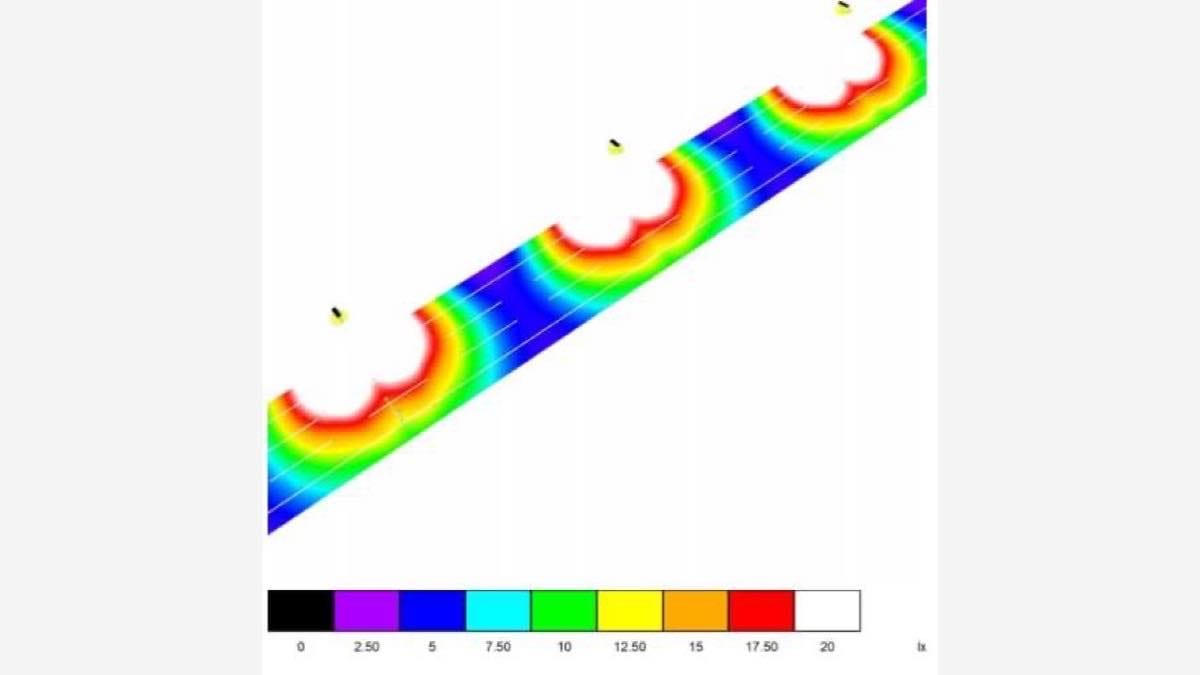
Check the drawing scale, road dimensions, pole coordinates, mounting height, arm geometry, luminaire tilt and calculation grid. Confirm that the file name and lumen output match the quoted model. Review average, minimum and maximum values together with project uniformity, glare and spill criteria. Look beyond the summary page: a passing average can hide a dark section or an excessively bright point. Finally, confirm whether results represent initial or maintained conditions and whether surrounding light was included. Request a revised model whenever the field layout changes.
Frequently Asked Questions
How many lumens are needed for a 6-meter pole?
Height alone is insufficient. Road width, spacing, optic and target illuminance are also required.
What wattage suits an 8-meter solar street light?
Select the light output and optic first, then calculate actual LED energy use and the matching panel/battery system.
Are more watts always brighter?
No. Efficacy, thermal operation, driver settings and optical losses affect delivered lumens.
How do I compare batteries with different voltages?
Convert capacity to watt-hours (volts × amp-hours) and compare usable energy under disclosed limits.
Is a DIALux report necessary?
It is especially useful when a tender specifies lighting performance or when spacing, glare and uniformity matter.
What is the difference between lumens and lux?
Lumens describe total light output; lux describes how much light reaches each square meter of a surface.
Request a Project-Based Lighting Recommendation
Send the road or site width, proposed pole height and spacing, target illuminance/uniformity, operating schedule, location and drawings. Those inputs allow Newskypower to discuss a product and optical layout without relying on nominal wattage alone.